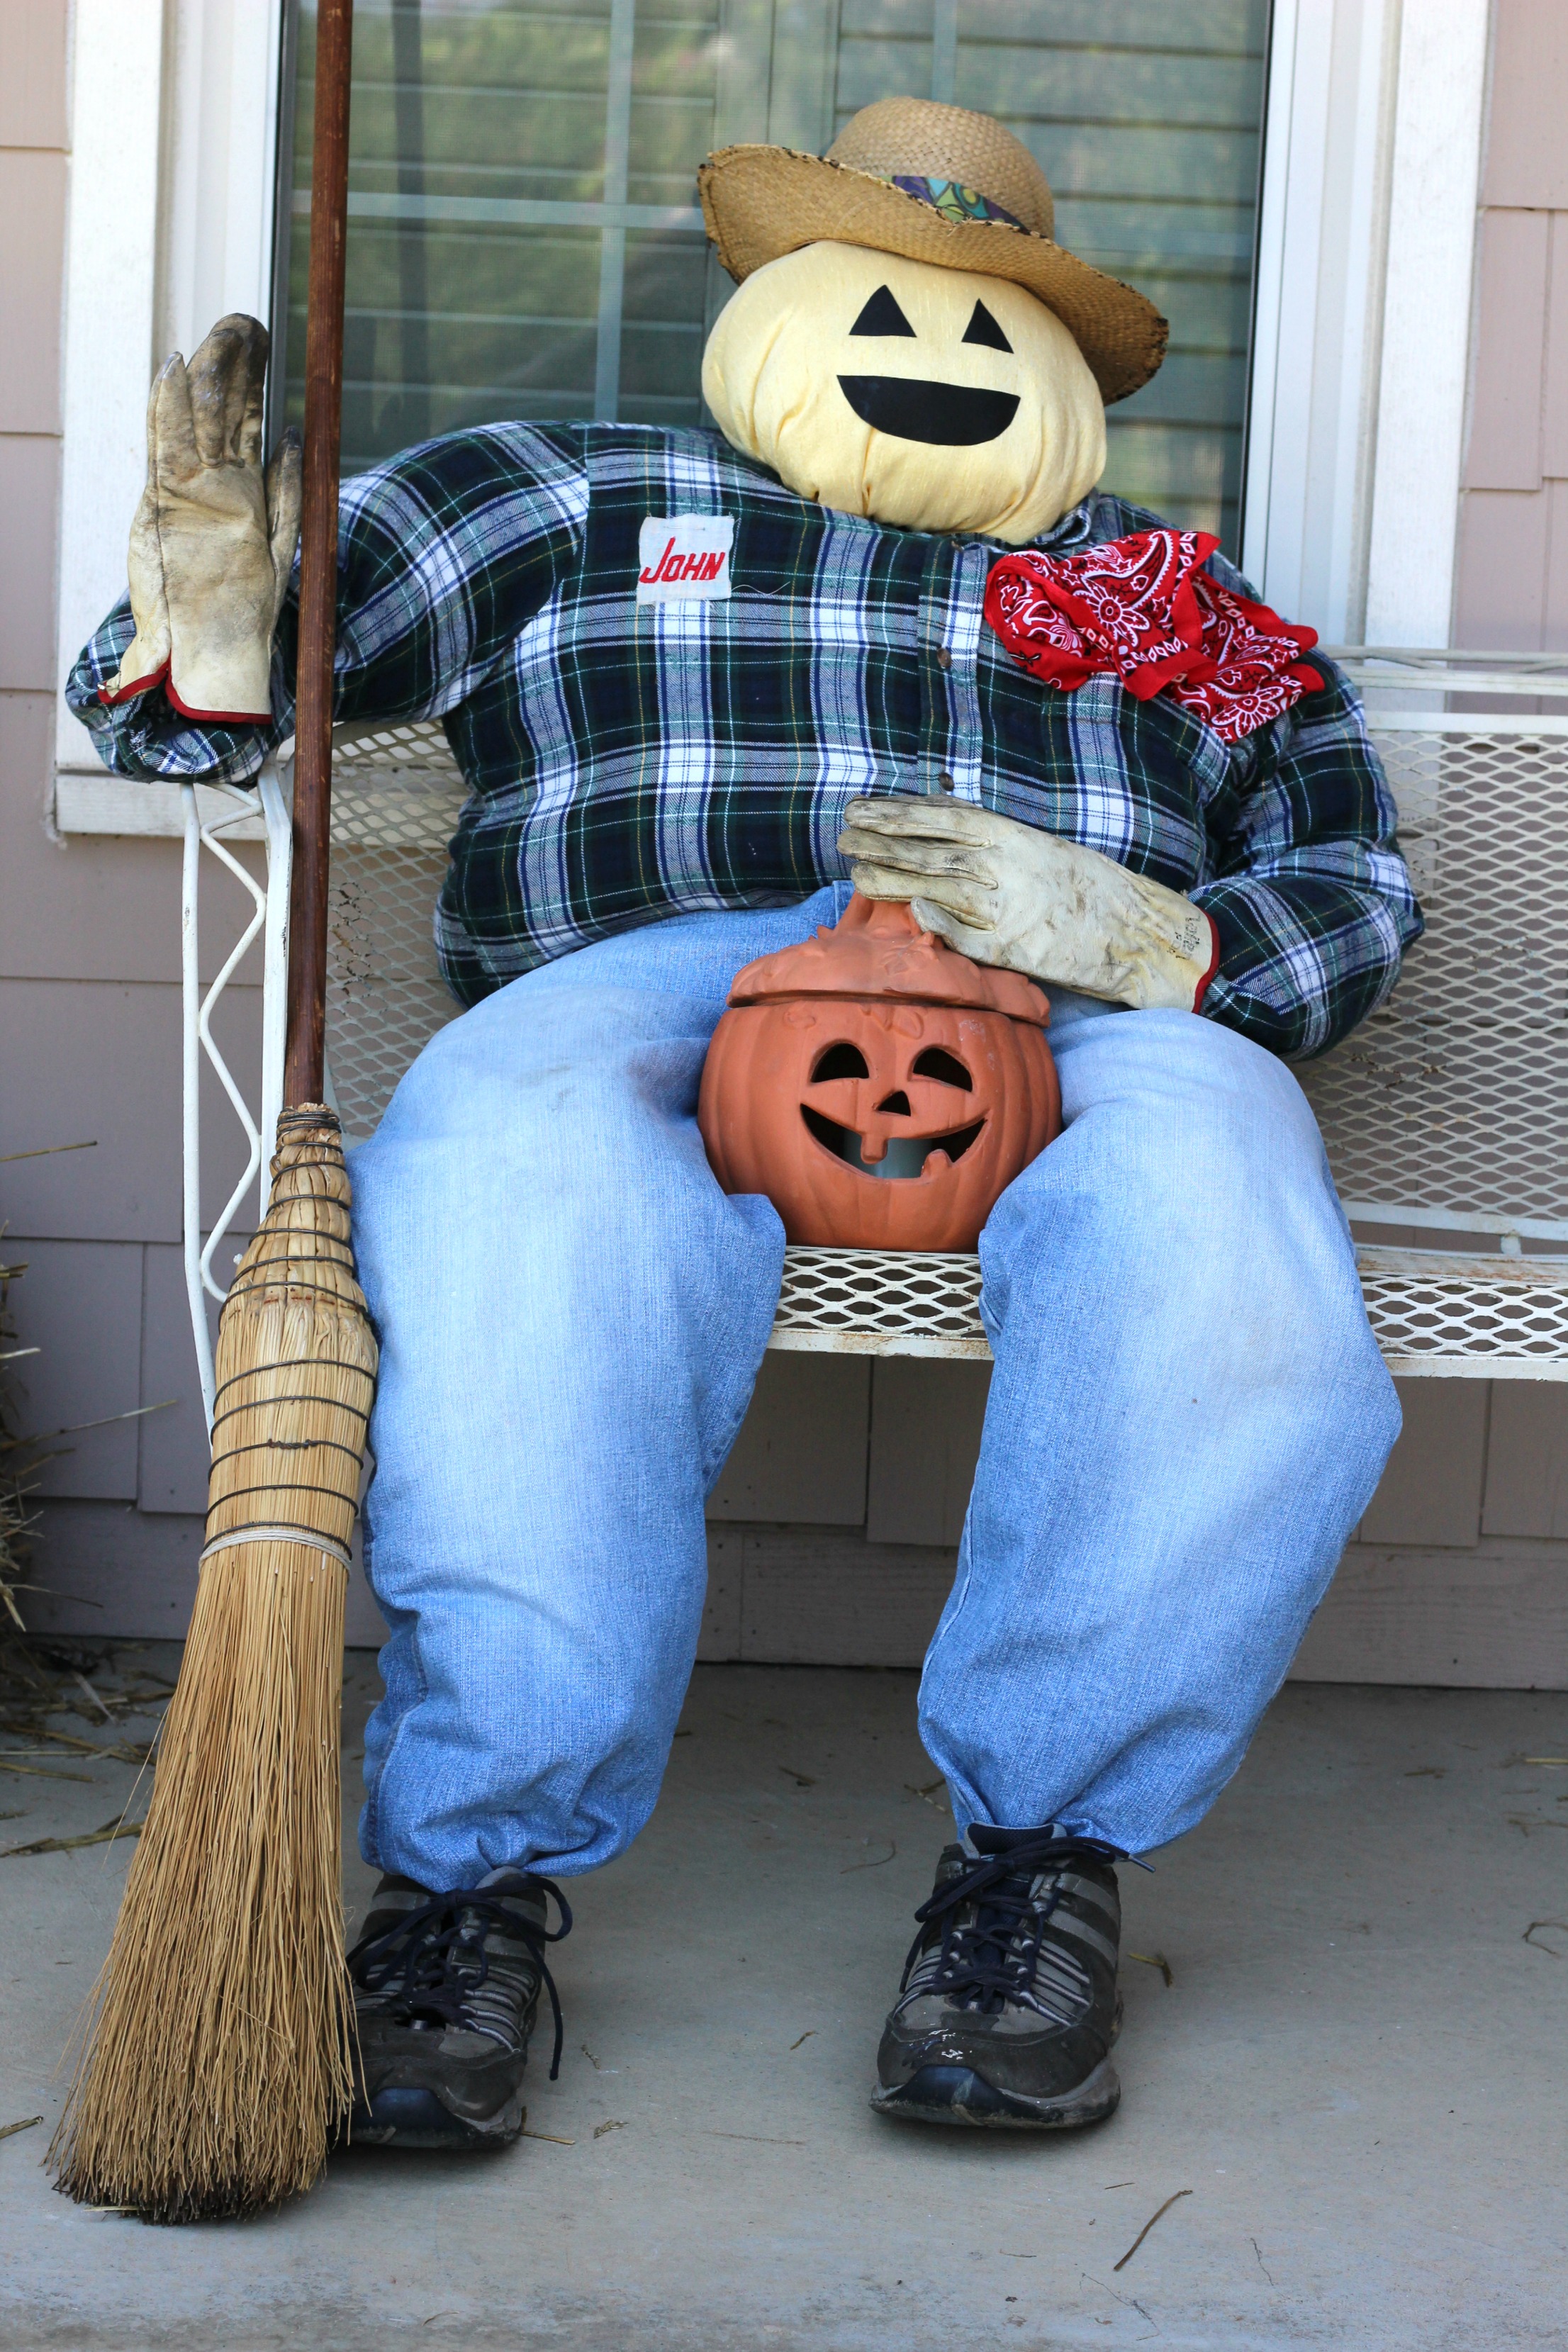
I’m showing you how to make a dummy for Halloween decor, but really, this guy is my Mr. Dreamboat, which you’ll see below. I’ll give you a brief porch tour at the end to tie it all together. I created what I’ve always dreamed of, but never done. The unlikely object below was my inspiration and you’ll learn how further down.

I really had fun with this Fall porch!
Confession
OK-TRUTH: I usually don’t decorate at all…OK, maaybe a pumpkin sitting on the steps…that’s it.
But THIS year, I got into the spirit, and finally created what I call my Mr. Dreamboat. So call him a stuffed dummy…stuffed man…pumpkin-headed man…whatever, but he’s a dreamboat to me! He’s NOT a scarecrow either. I’ve always wanted one of these, but figured he was too hard to make. Looking back, it was really easy.
Yes, I admire those stuffed figures that have character…not scary ones, and not rigid scarecrows.
My Dream~
My Mr. Dreamboat would be admired by passersby because he would sit on a bale of hay in the front yard close to the road, and he would smile and wave. He might even have a pumpkin head, but for sure he’s wearing jeans, flannel shirt, and hat. And everyone would exclaim and say “isn’t that person clever to have created that?” Well, it’s just a dream.
Reality Says…
- He can’t sit on a bale of hay (Mr. Dreamboat on a bale of hay would require a whole lotta support!)
- The bale of hay can’t be in the yard. It can’t be close to passers-by or close to the road because…bales of hay on grass kills grass
- And he can’t be waving…see reason #1
I realized I had to modify my dream just a bit.
So How to Create This Dummy, er…Dreamboat?
First we have to have clothes, stuffing, and some way of giving him form.
How to Get the Guy to Pose
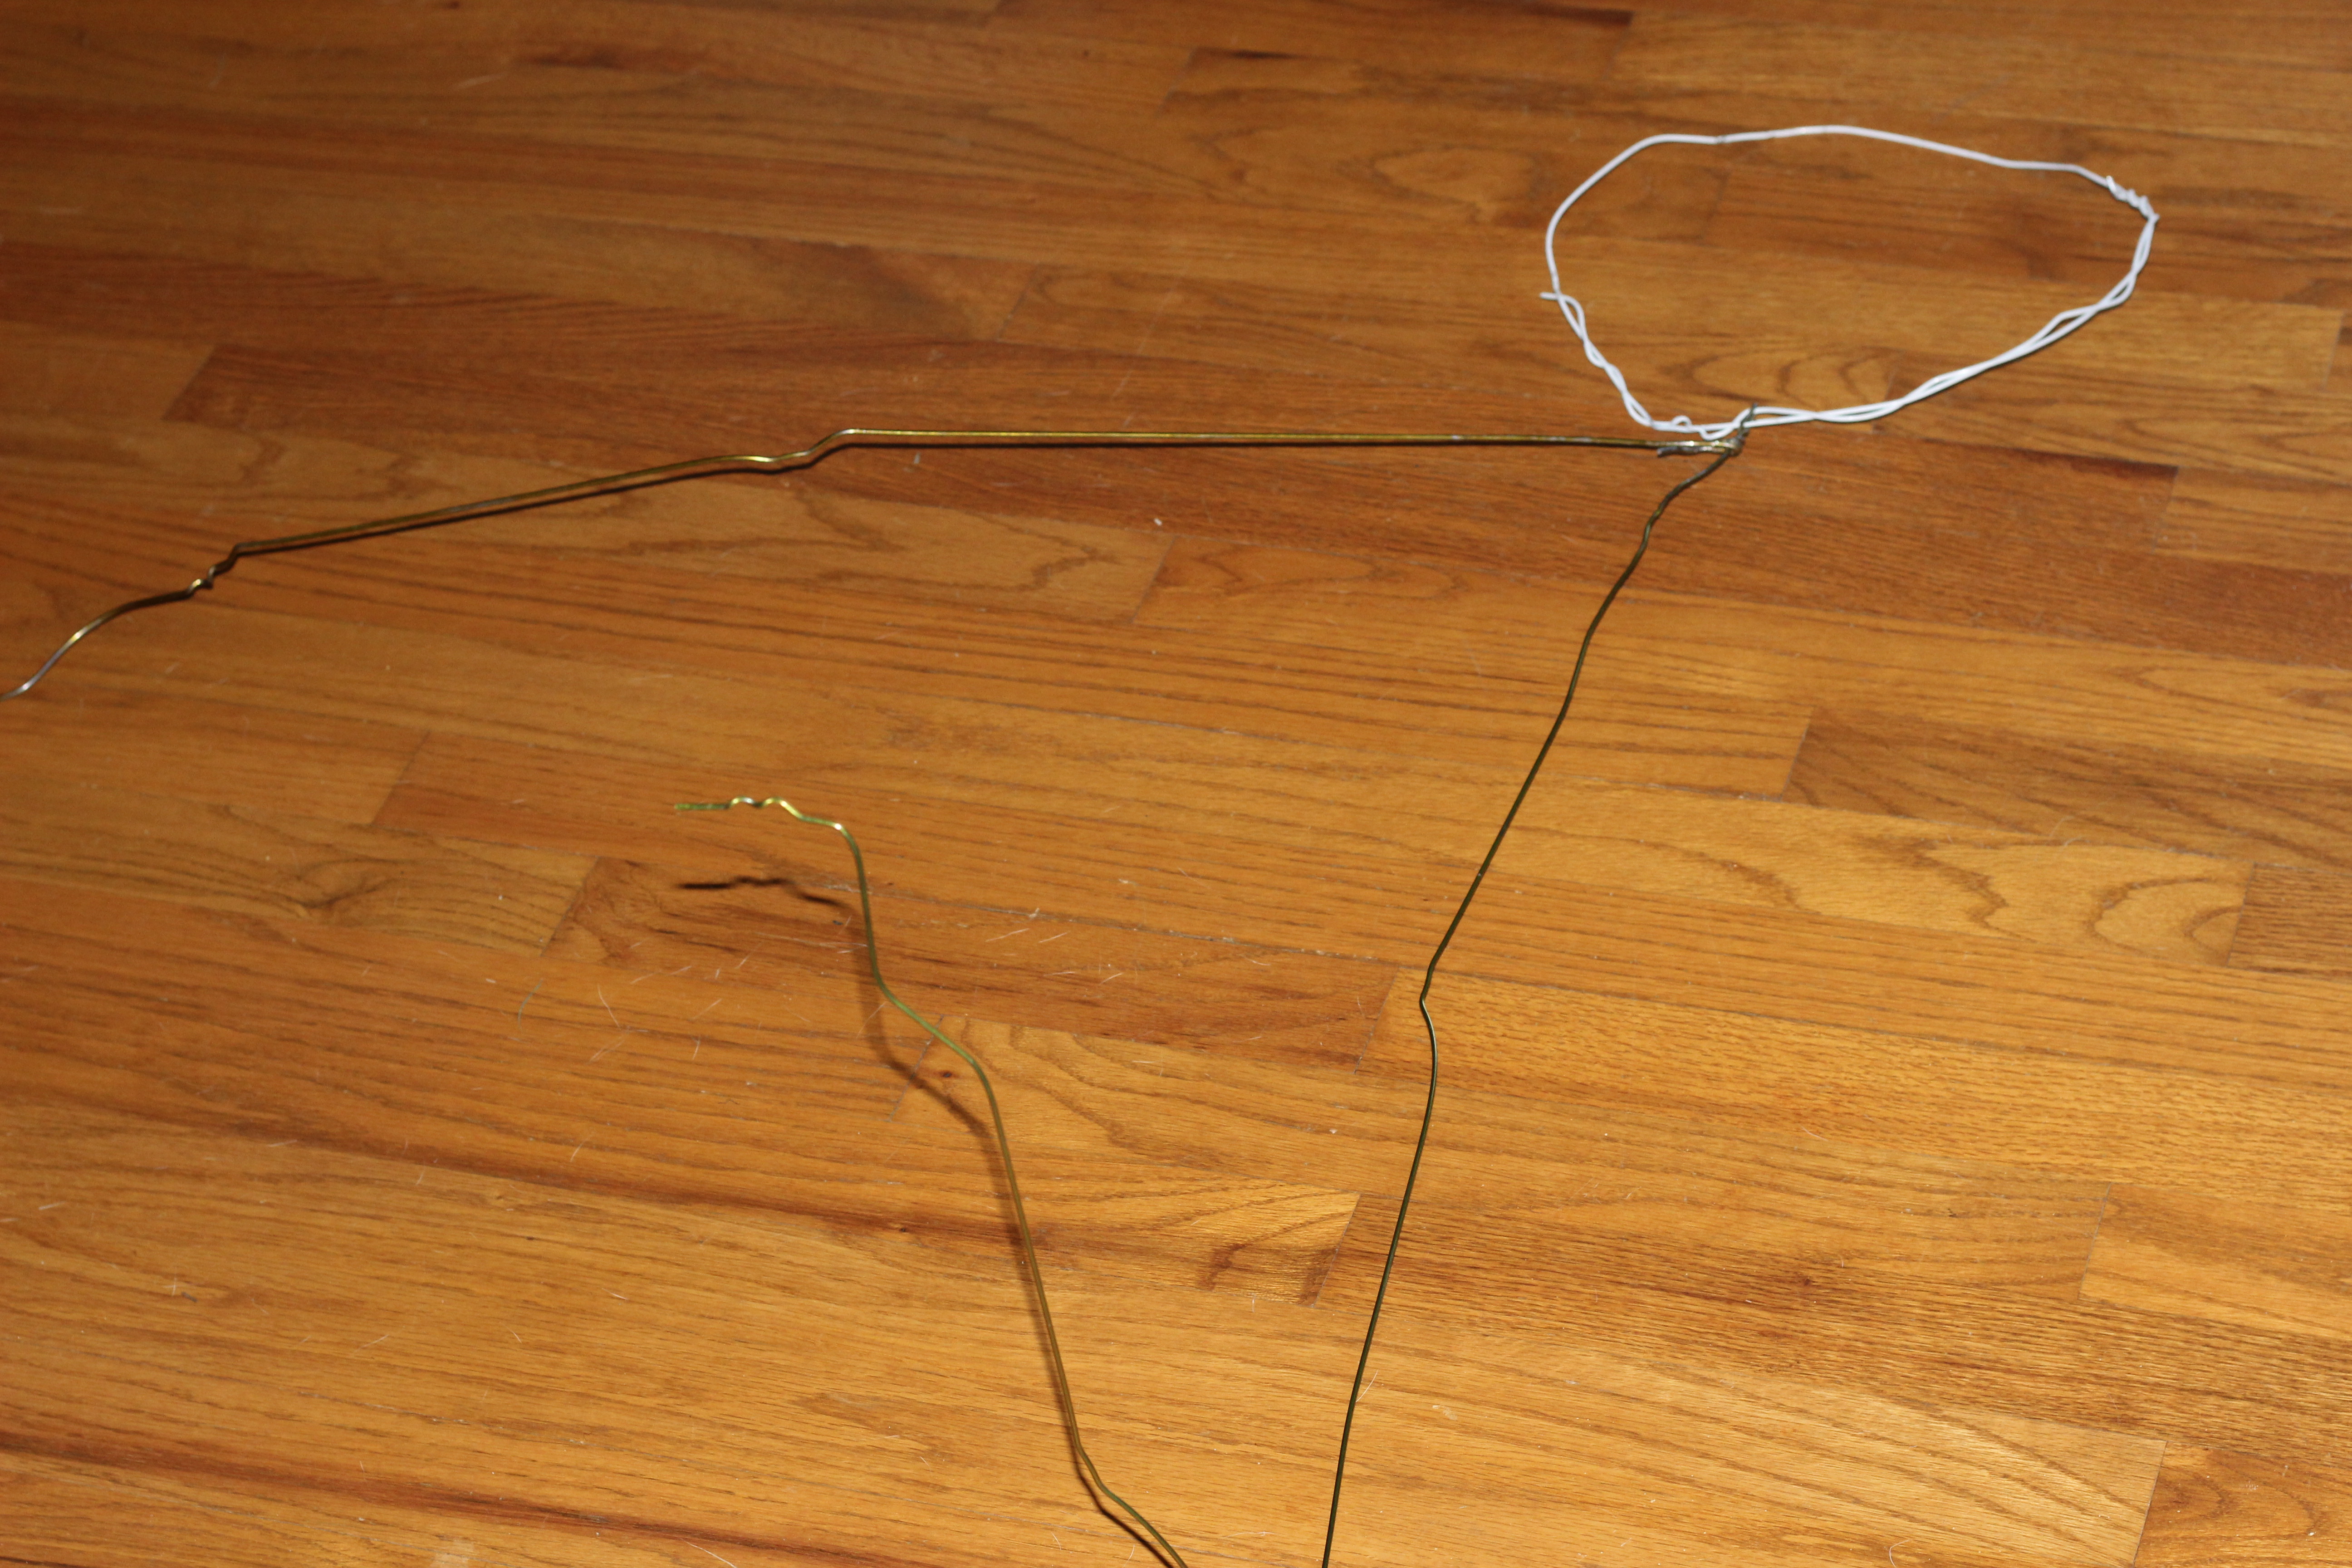
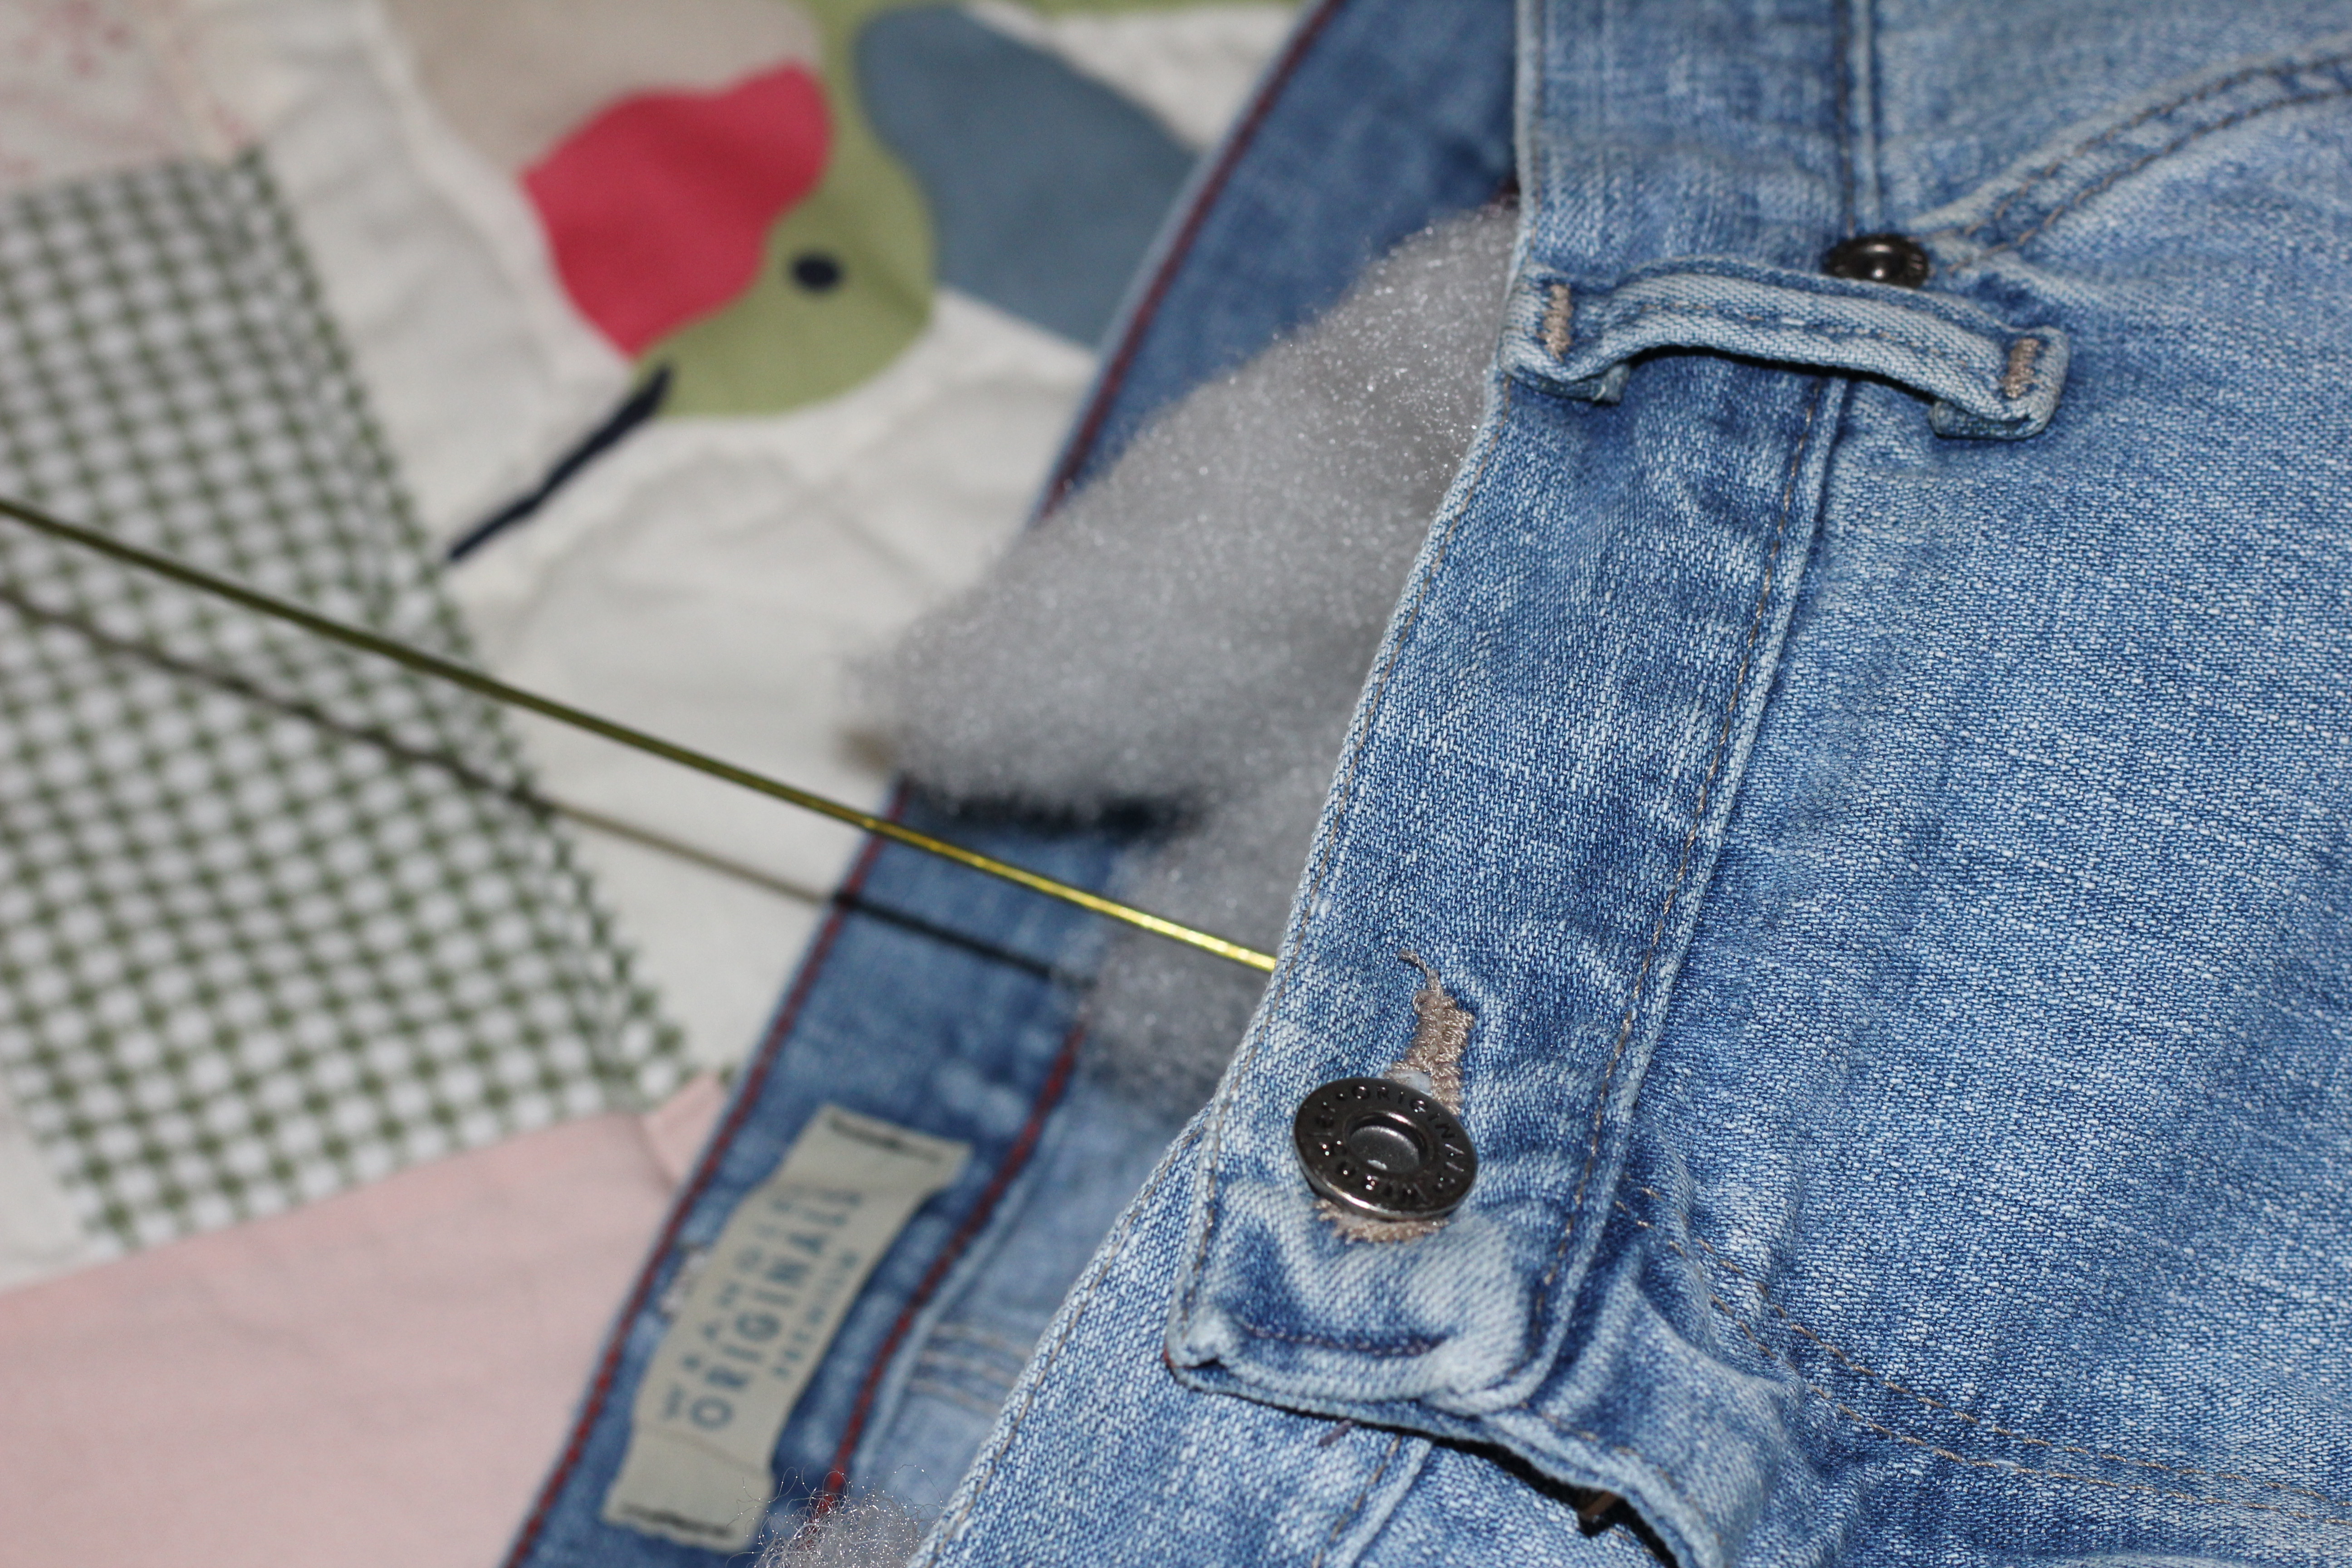
Giving him form means he needs a backbone, which I did with coathangers wired together.
As it turned out, I straightened the long brown wire you see bent in the photo. I straightened it to go down one leg. I originally planned for him to cross his legs, but the wire wasn’t long enough. I used 1 coathanger for the torso, and one for the head.
What I Learned:
The brown coathangers are much harder to work with than the thinner white ones. Even with the help of a vice and pliers, it was almost impossible to work the brown one. That’s why I gave up lengthening the wire in his leg so I could cross them.
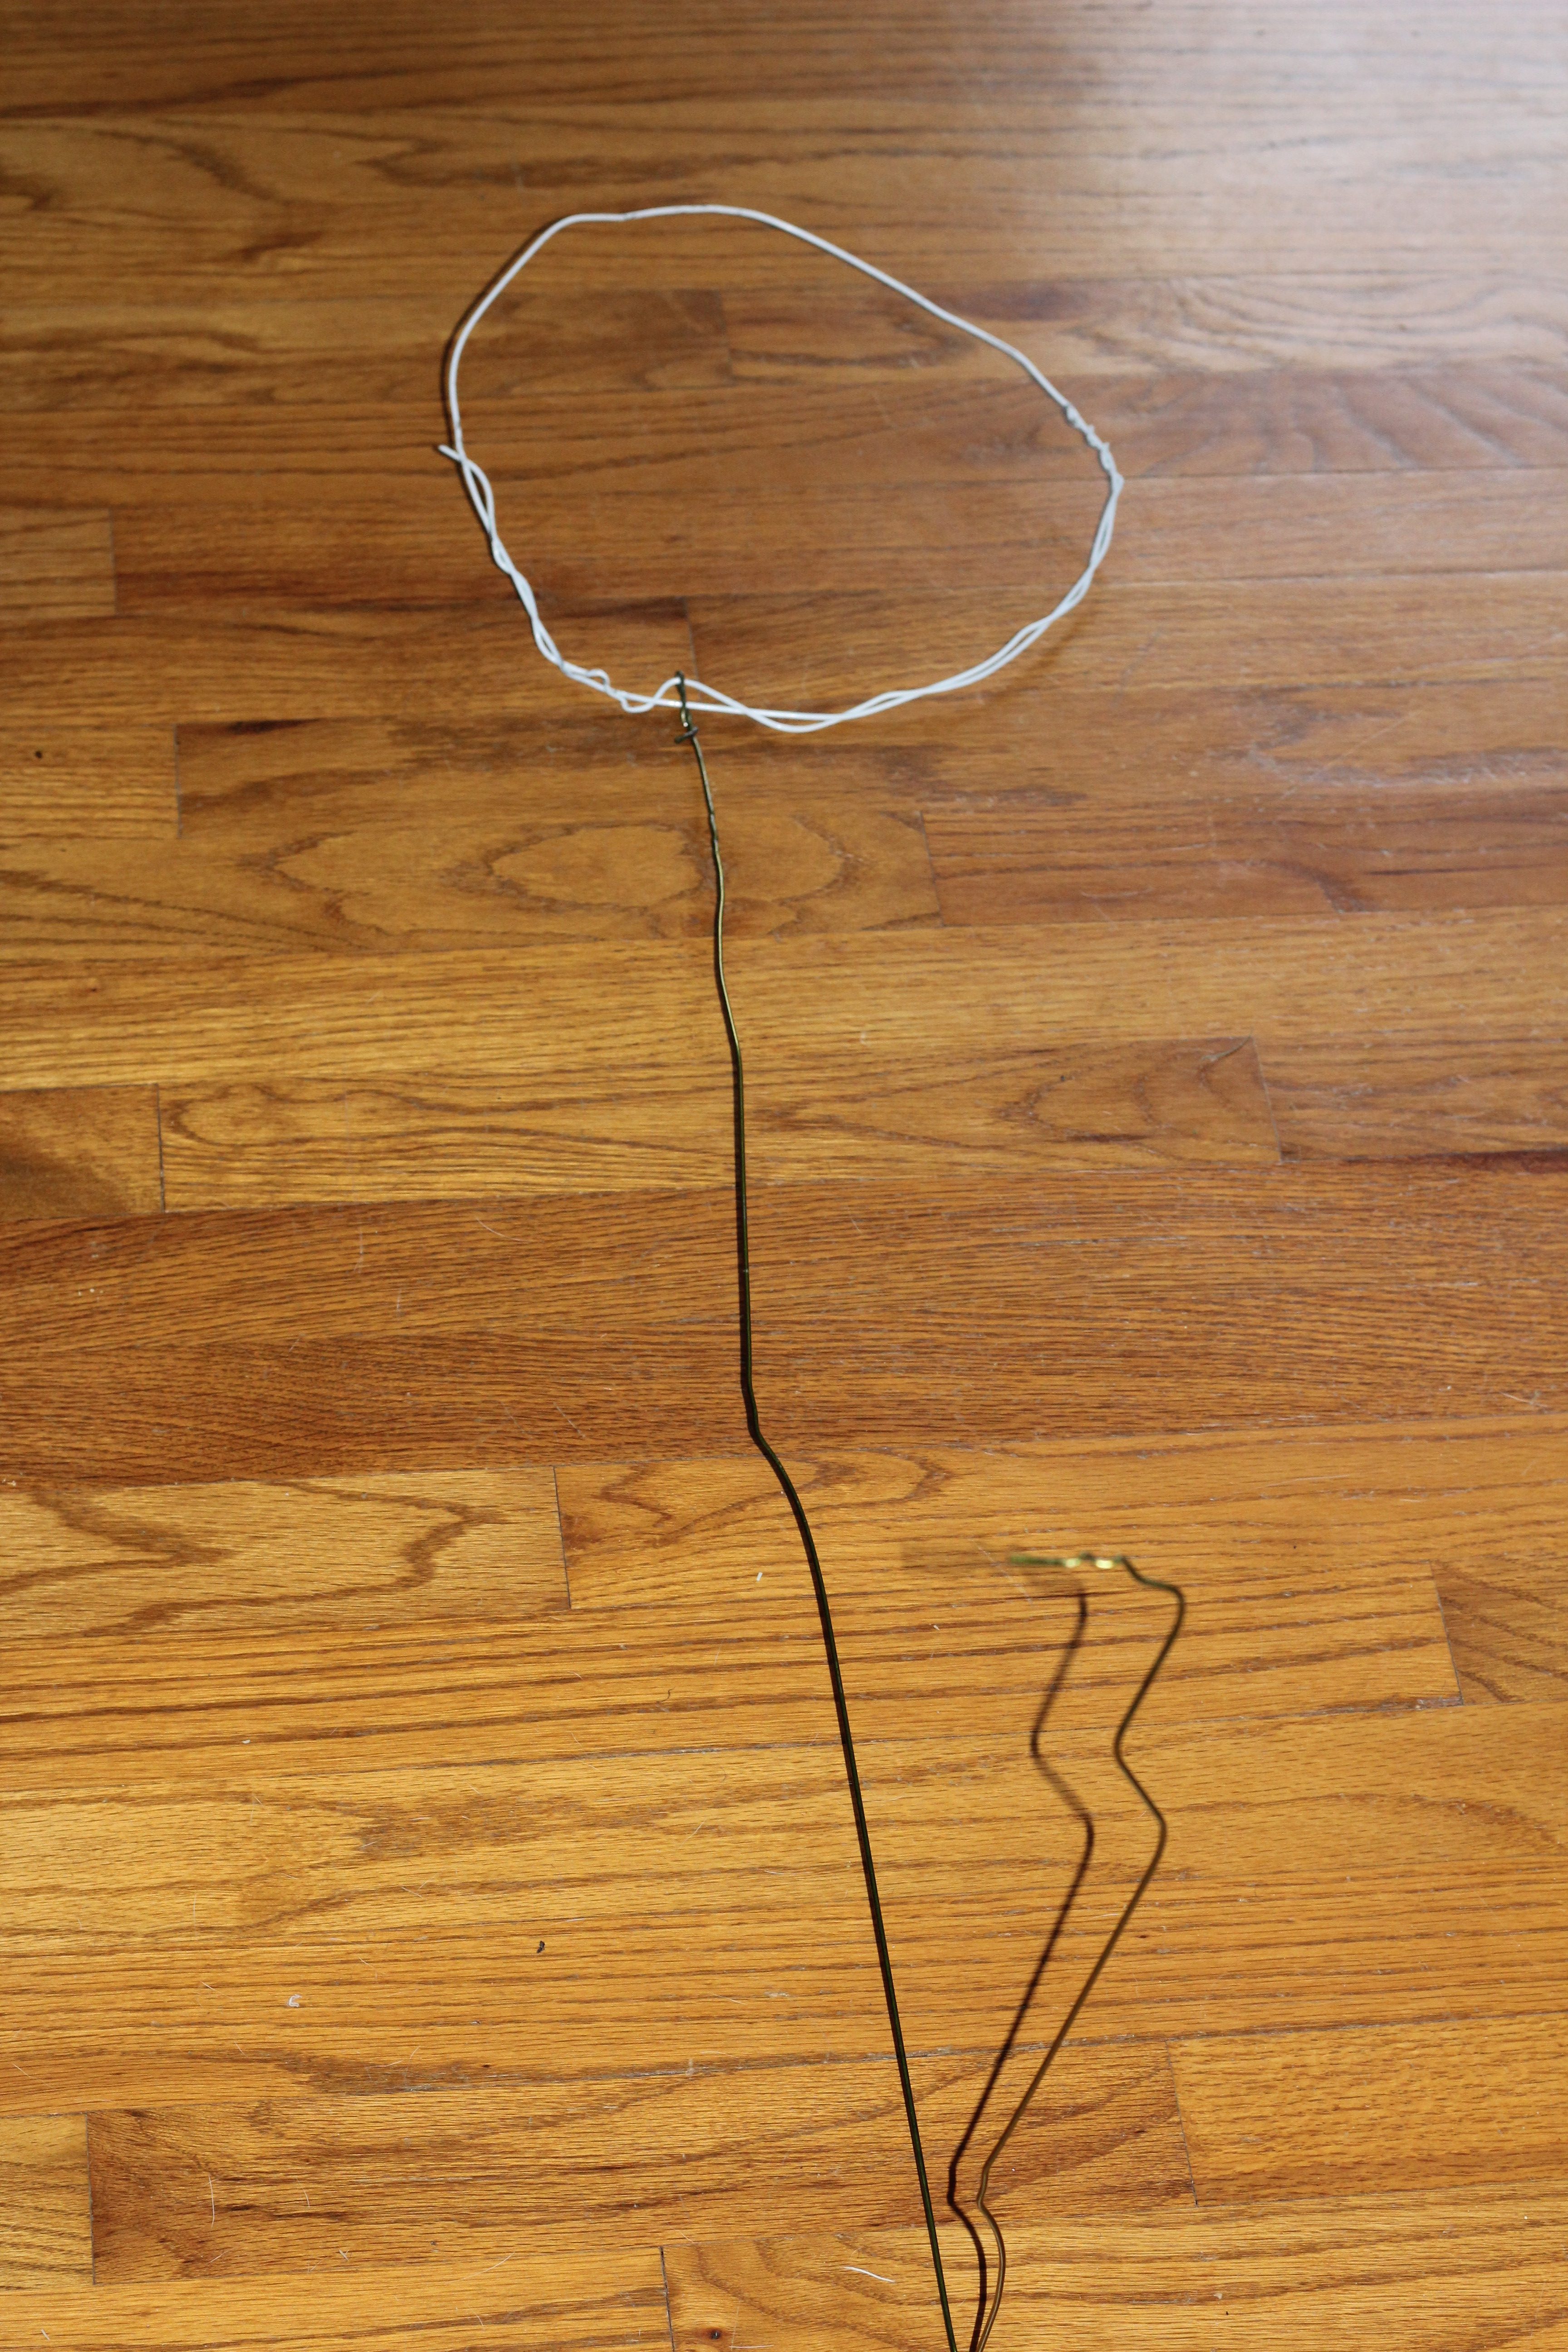
Here I planned to give him 2 strong arms, but the difficulty of working with the brown wire changed my mind. So I settled for one.
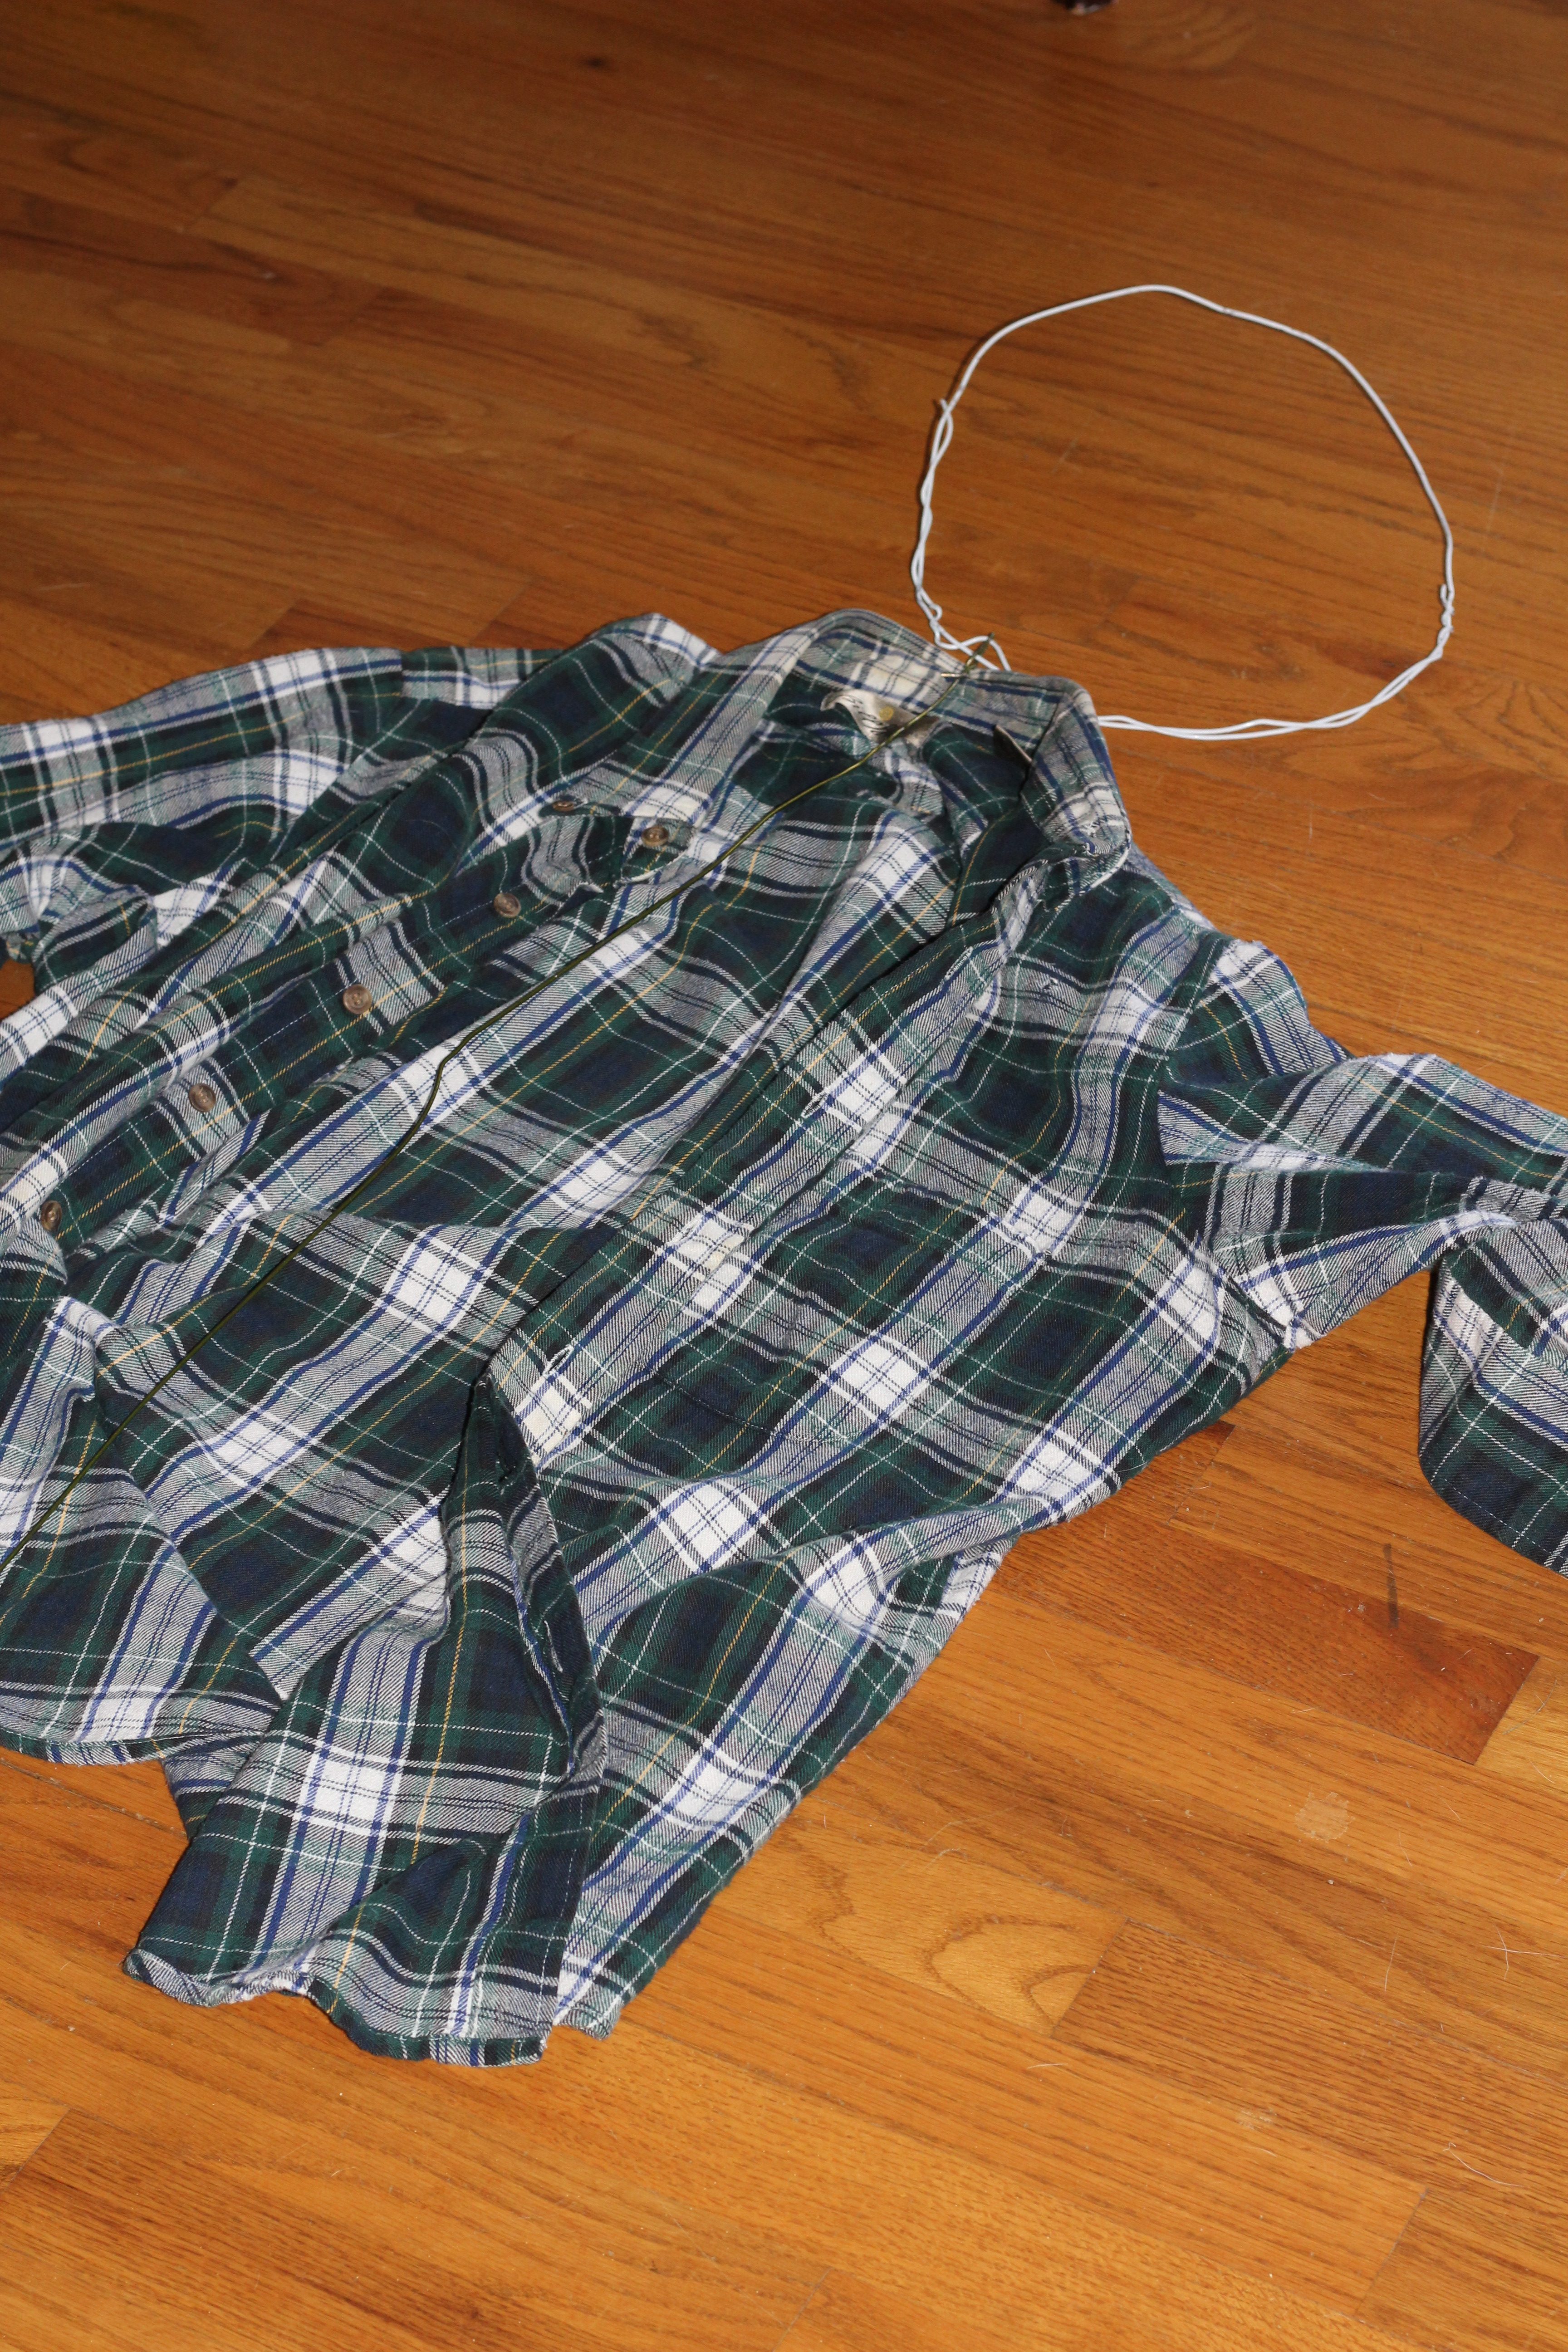
Here we are fitting the dummy (Dreamboat) with his shirt~the hubby kindly contributed his well-worn work clothes.
Here begins the fun part…forming the guy, the dummy, the Dreamboat…

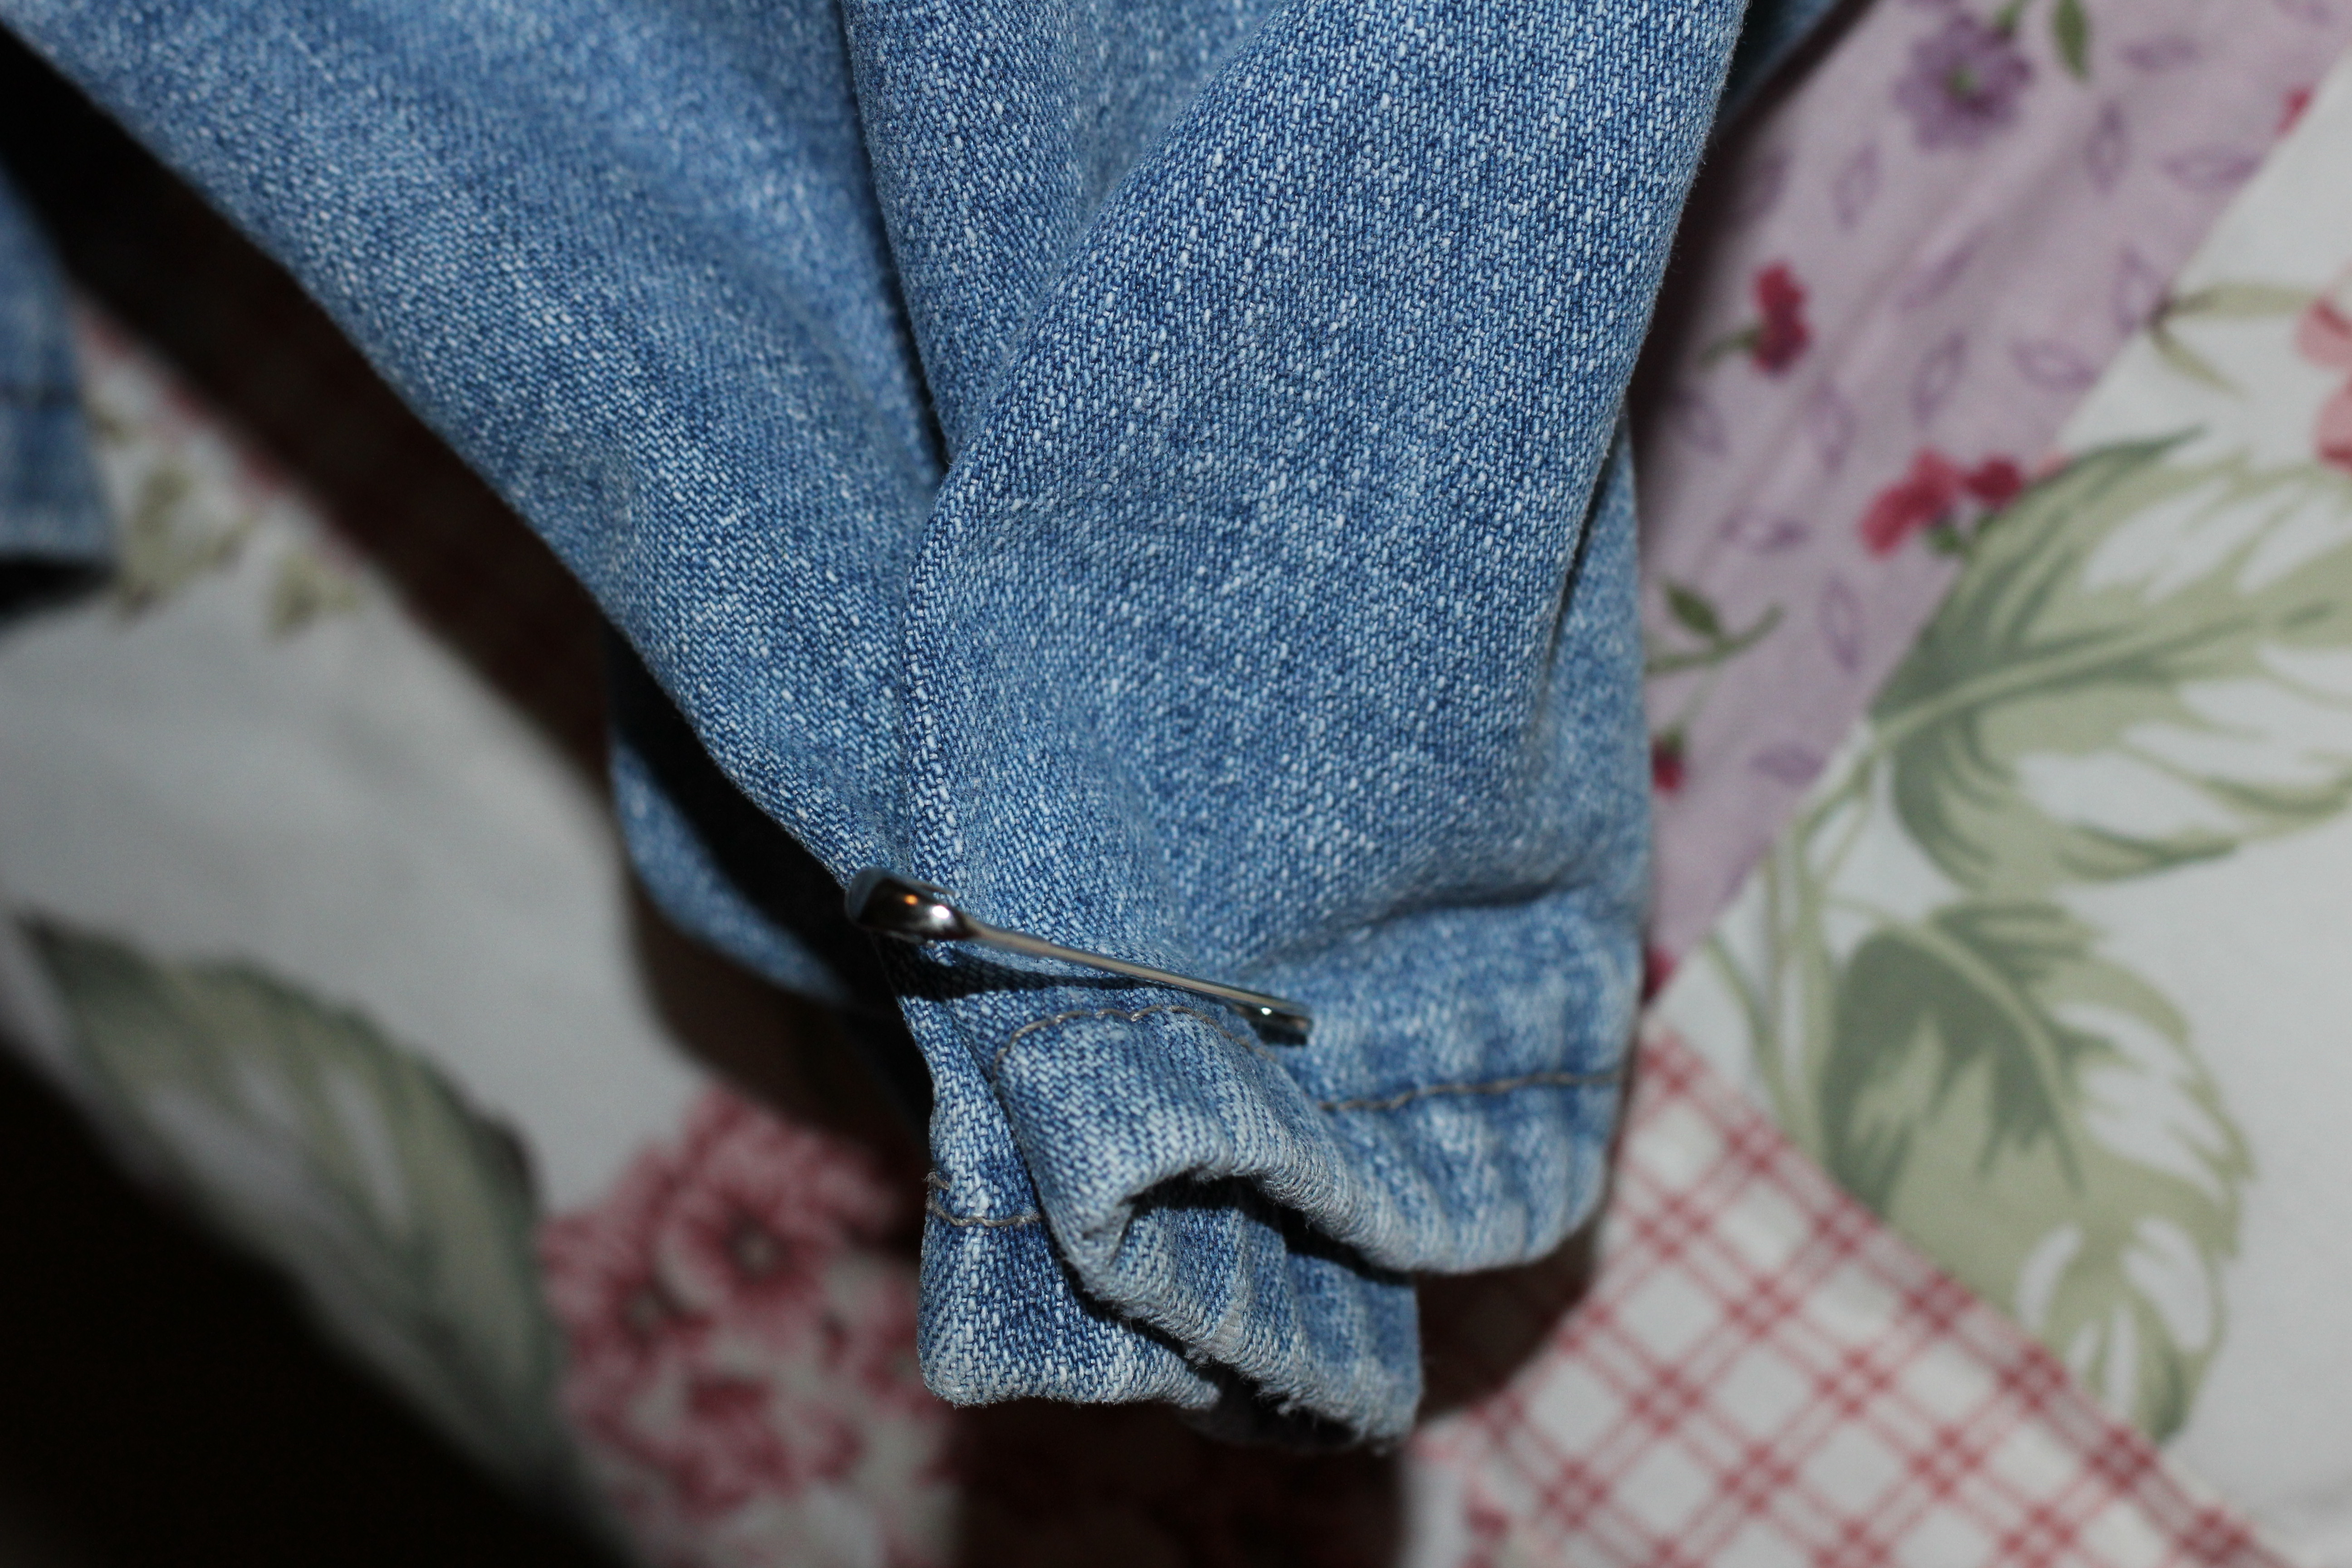
Begin stuffing from the bottom. Safety pin the lower legs shut after he’s stuffed enough.
What to Use for Stuffing
- Fiberfill
- Newspaper
- Shredded paper
- plastic bags
What I Used~
This summer we took stuffing out of rock-hard rigid patio pillows and chair seats. I planned to sell it all in an upcoming yard sale, but I had enough to do my whole man! Plus I used a bit of tulle I got from a friend who does weddings.
Now bring in the shirt, button it up, and start stuffing. Don’t forget the shoulders and arms. Stuff the shirttail into the pants, and safety pin the back of the shirt to the pants’ waist.
See how the “backbone” is stuck down into the pants? Having that bit of support was helpful. Do the same with the arm wire, guiding it down into the sleeve. Poke the stuffing all around it.
Once he’s stuffed, gather up your guy tenderly and take him where he’s going to land. In my case, it was to a metal loveseat on our front porch. Mr. Dreamboat made it without mishap. I forgot to take pictures, but my guy sat headless on the porch for a few days until I decided how to do his head. And EVERY TIME I went to the porch, I got a start just seeing his legs sitting there…never mind that he was headless!
Creating the Head~
There are several options:
- he could have a real pumpkin head…nah too heavy
- you could go all creative with paper mache…nah too messy, and I’m too lazy.
- you could do a cardboard one and draw a face…nah too elementary
- you could do a wooden one and draw a face….nah I don’t do the power tool thing
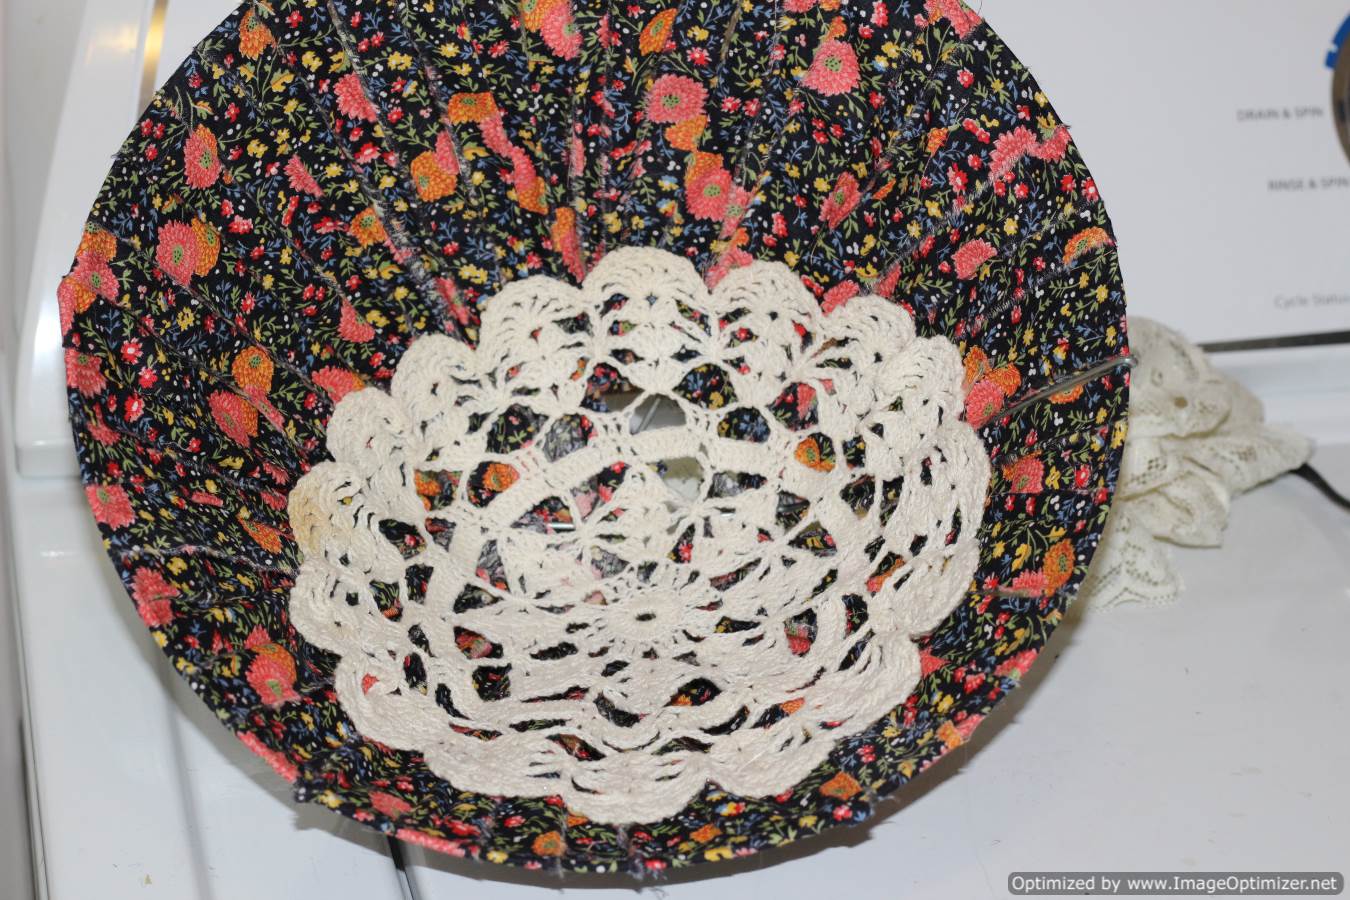
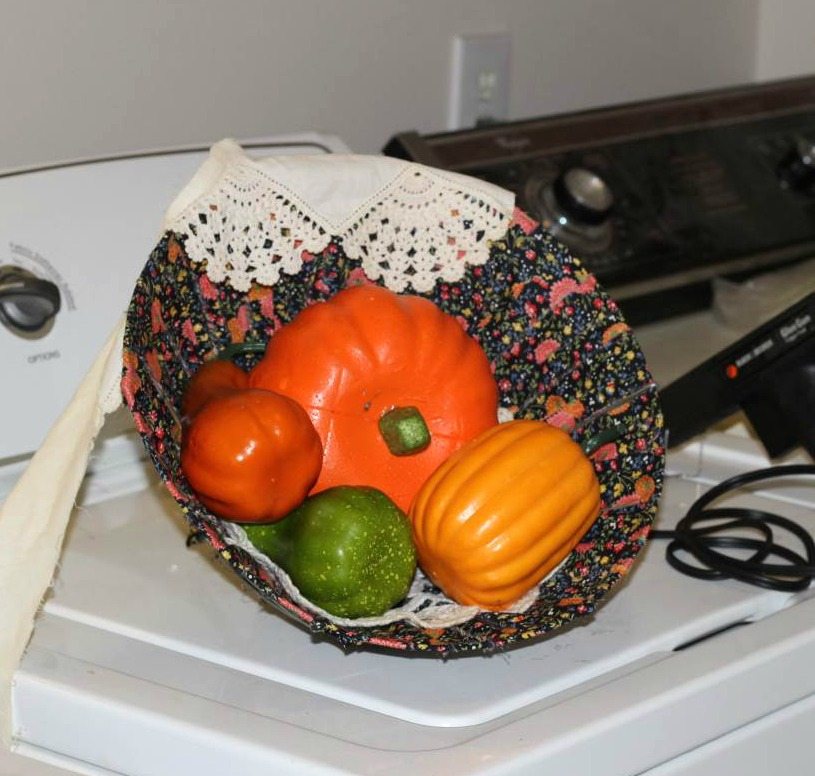
But a fabric pumpkin head would be just the thing. We’ve been seeing how to do fabric pumpkins all over blogland.
What size to make it was the next huge question. A little trial and error, and I ended with a 23″ diameter circle of fabric.
The Basic Directions:
It’s the same process as making a fabric yo-yo.
- Begin with a circle of fabric
- Start a long basting stitch around the perimeter of the circle (about 1/4″ from the edge)
- I left the thread on the spool the entire time I was sewing.
- Begin gathering the circle closed by pulling the ends of the thread
- When you have it closed, start stuffing with fiberfill, while poufing into a head shape
- When shaped to your satisfaction, you can tie the 2 ends of thread together to hold it closed.
I used yellow fabric for the head…again, whatever you want to use.
Take it out to Mr. Dummy Man (Dreamboat) and give him his head. Here’s where I really wasn’t sure why I made a wire circle for his head. But it was helpful for anchoring it. I bent it together and stuffed it into the head. I didn’t want to hot glue it because hubby still wanted to use the clothes.
I formed the eyes and mouth with black construction paper and glued them on with regular Elmer’s glue.

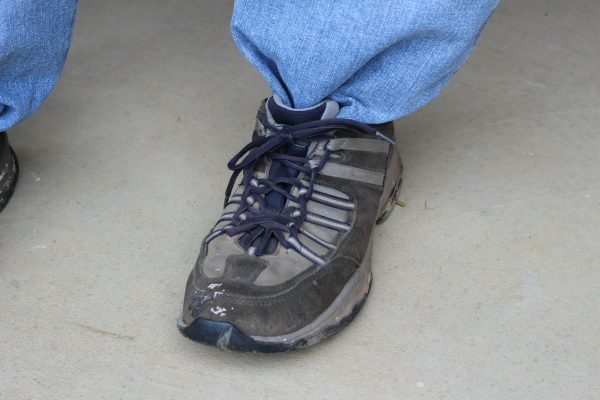
The lower pants legs went into a pair of old shoes.
I posed his right arm a bit, and had enough wire left over to cock up his hand to wave.

I stuffed tulle into dirty old gardening gloves of mine and pinned to his shirt cuffs.
Other Construction Details~
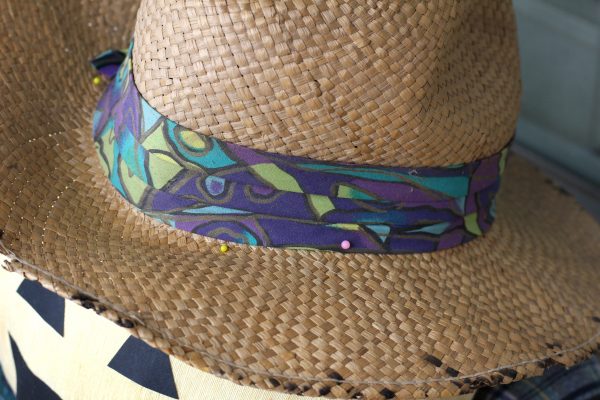
- The Straw Hat~we found it covered with dust in the basement and almost tossed it, but I remembered Mr. Dreamboat had no hat. I simply pinned it in several spots with straight pins.
- The Red Bandana~Stuffed into his shirt pocket for a bit of color.
- The Witches’ Broom~a recent thrift store find completes the non-scary scenario
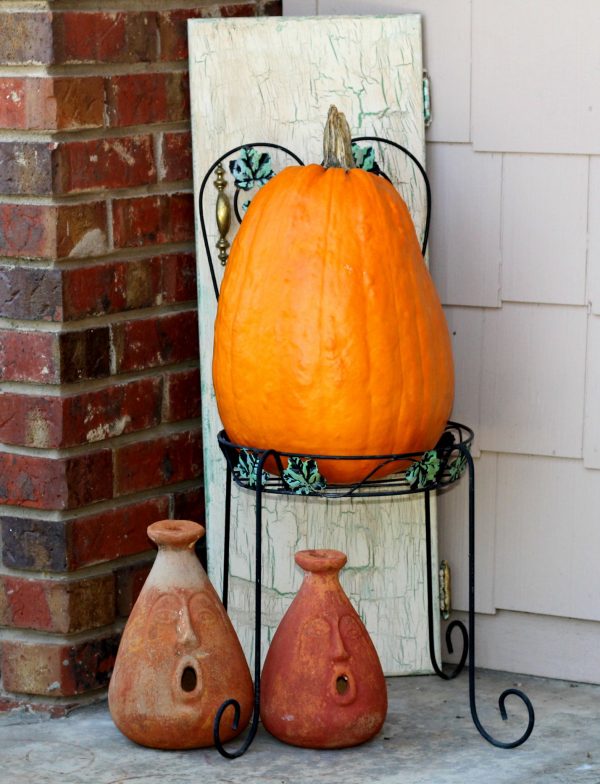
- The Clay Jack O’ Lantern between his legs to remind everyone it’s Halloween after all~I found that at a thrift store earlier in the year. It holds a battery-operated candle found at an estate sale.
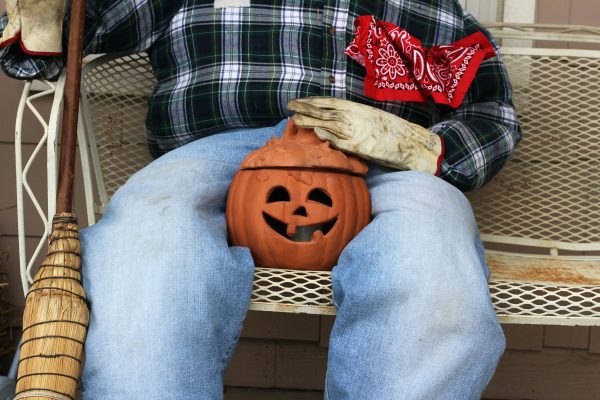
- The “John” on his shirt~I found that in a bunch of sewing supplies at an estate sale
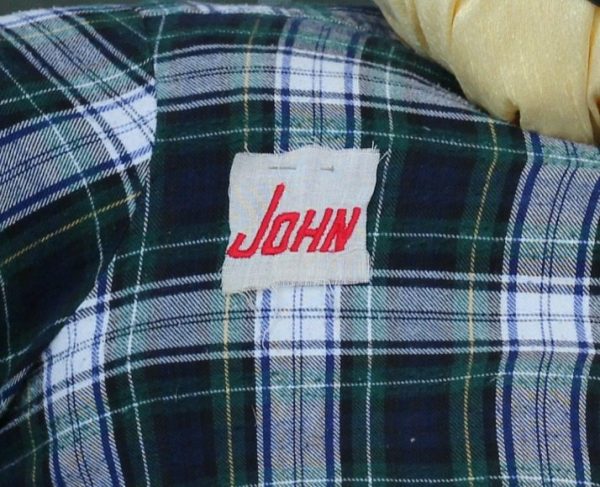
So instead of being scary, Mr. Dreamboat looks just like Farmer John taking a break from his labors.
Now what about the colander? I saw it one day and said to myself, hmm, this would make a good hat for a dummy. I must have been thinking of The Tin Man in the Wizard of Oz, dontcha think??? So began the Dummy man, er, my Mr. Dreamboat.
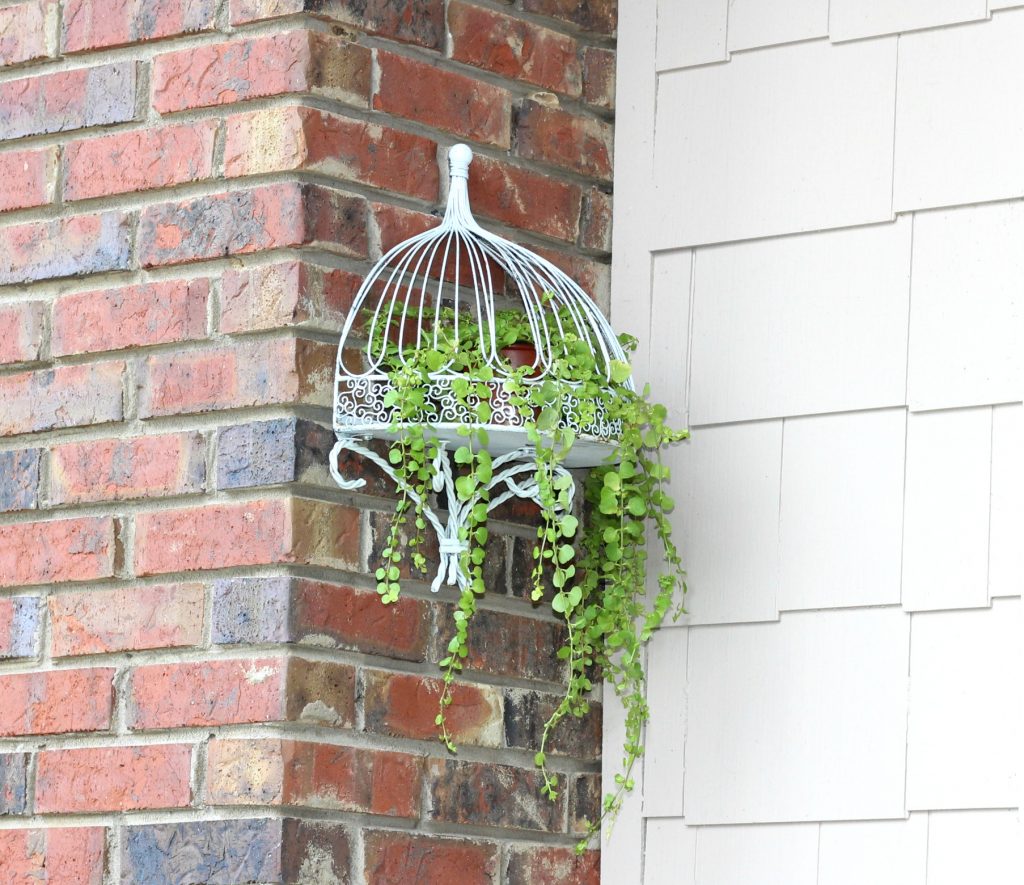
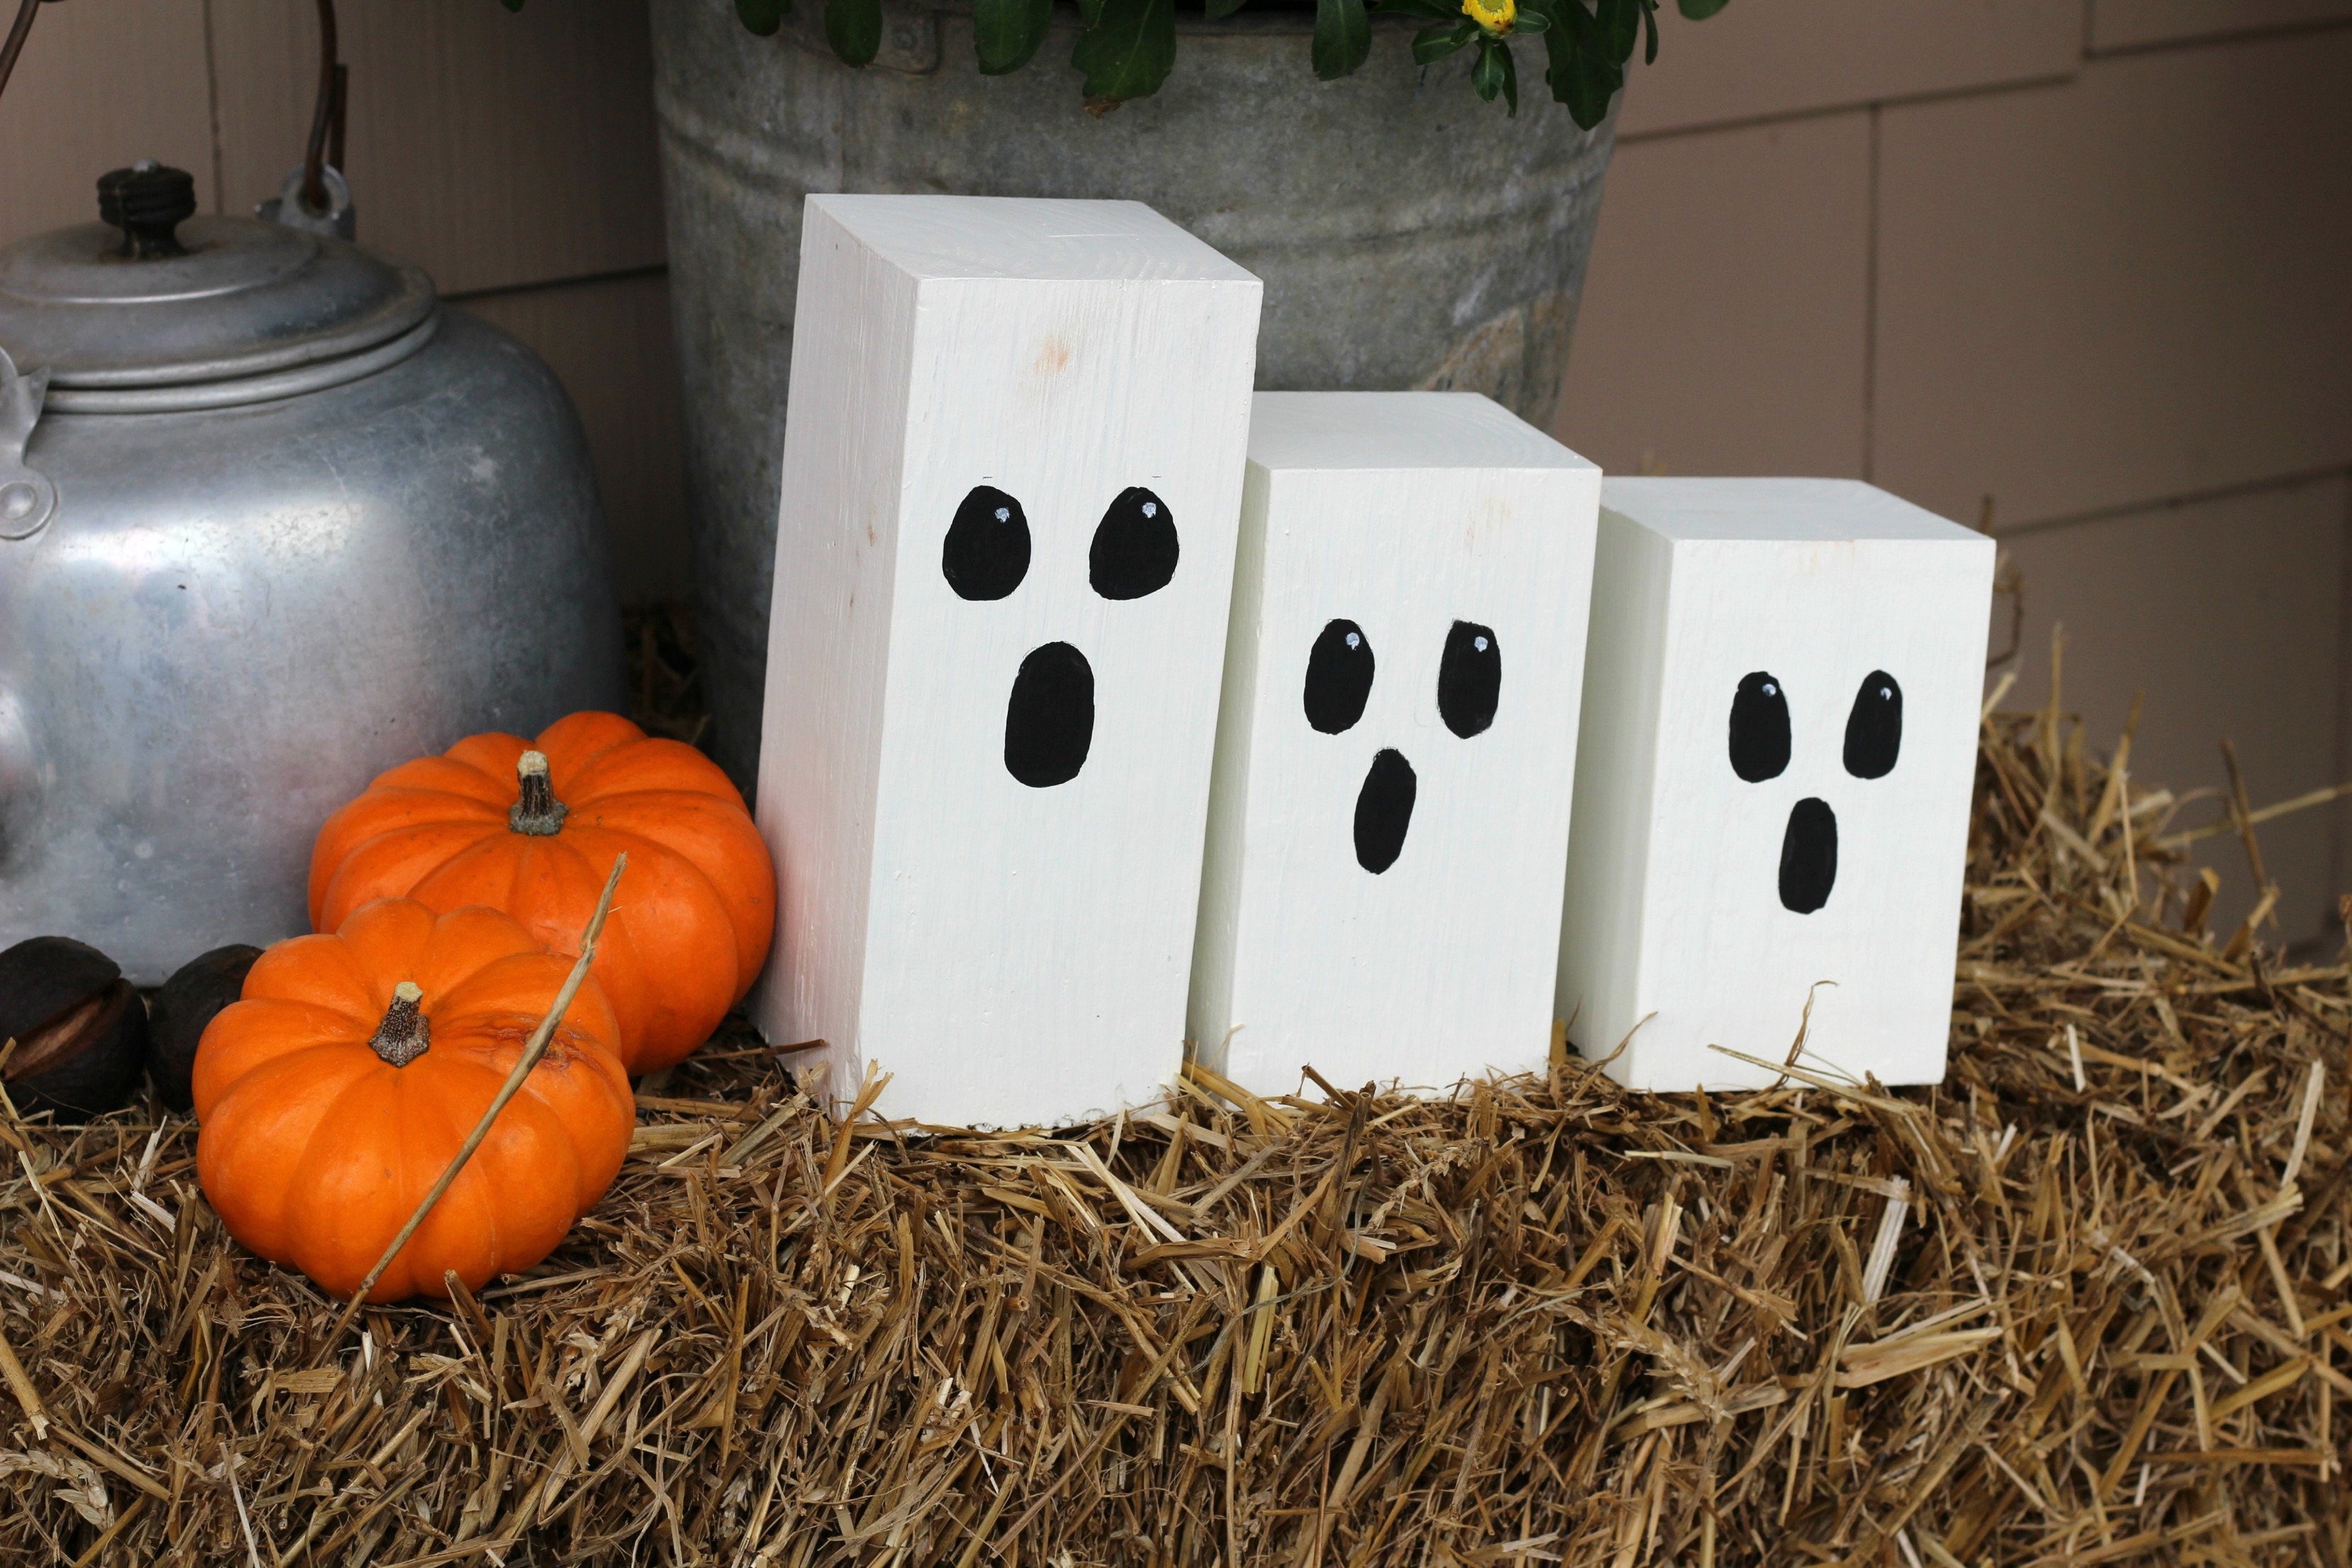
And here he is with the rest of my Fall Decor!

I did a bit of rearranging….
With the exception of the pumpkin in the photo below, every single thing came from yard or estate sales!
And amidst it all…hydrangeas are still blooming!

Fall come!
Sharing with these link parties~