• Home
  • About
    • About Me
    • Contact Me
  • Etsy Shop
  • Link Parties/Featured
    • I’ve Been Featured
    • Sweet Inspiration Link Party
  • Personal Diary

Vintage Southern Picks

Cheapskate Picker Sharing Finds, DIY & Selling Tips

Facebook   Twitter   Pinterest   Google+   RSS
  • DIY Projects
    • DIYs to Sell
    • Holiday/Seasonal
    • Home and Garden DIY
  • Home and Garden
    • Home Organization
    • How I Organize My Ebay/Etsy Home Office
    • Home Tours
    • Party Games
  • Selling Tips
    • Buys I Avoid
    • Shipping
    • What’s Selling on Etsy/Ebay
    • Yard Sales
      • How to Give a Yard Sale
      • What Not to Say in Yard Sale Ads
      • Yard Sale Humor
  • Vintage Finds
    • Thrift Store Finds
    • Mystery Items
    • Yard/Estate Sale Finds
    • Vintage Junk Giveaways
  • Disclosure Policy
  • Privacy Policy

Giving a Hint of Fall with Fabric and a Wire Basket

September 18, 2017 by Florence 48 Comments

When trying to decide what to make for the Monthly Craft Destash Challenge, I knew it was my chance to destash a little fabric. I’m giving a hint of Fall with fabric and a wire basket using finds from the thrift and Dollar Stores. I should do a show ‘n’ tell of my entire fabric stash and it’s not pretty, but piled high in old laundry baskets hastily shoved under the bed when company comes. 

craft-room-destash-challenge

Every month a group of bloggers are challenged by C’mon Get Crafty to create a new craft or project from their own stash of goodies! Check out some awesome creations you might be able to make from your own stash! #CraftRoomDestashChallenge

We are allowed up to $10 for necessary supplies to complete the challenge, and I spent about $2 total.


A couple of months ago, I had so much fun creating DIY Funky Junk Mobile Art. Making a hanging mobile out of bits of junk like old rabies dog tags, old telephone parts, old metal thingies. Check it out if you haven’t seen it! I believe it is my most favorite!

[clickToTweet tweet=”What crafty creations could you make today from YOUR craft stash?! #CraftRoomDestashChallenge” quote=”What crafty creations could you make today from YOUR craft stash?! #CraftRoomDestashChallenge”]

If you’d like to join in the Craft Room De-Stash Challenge, you can request to join our Facebook group here!


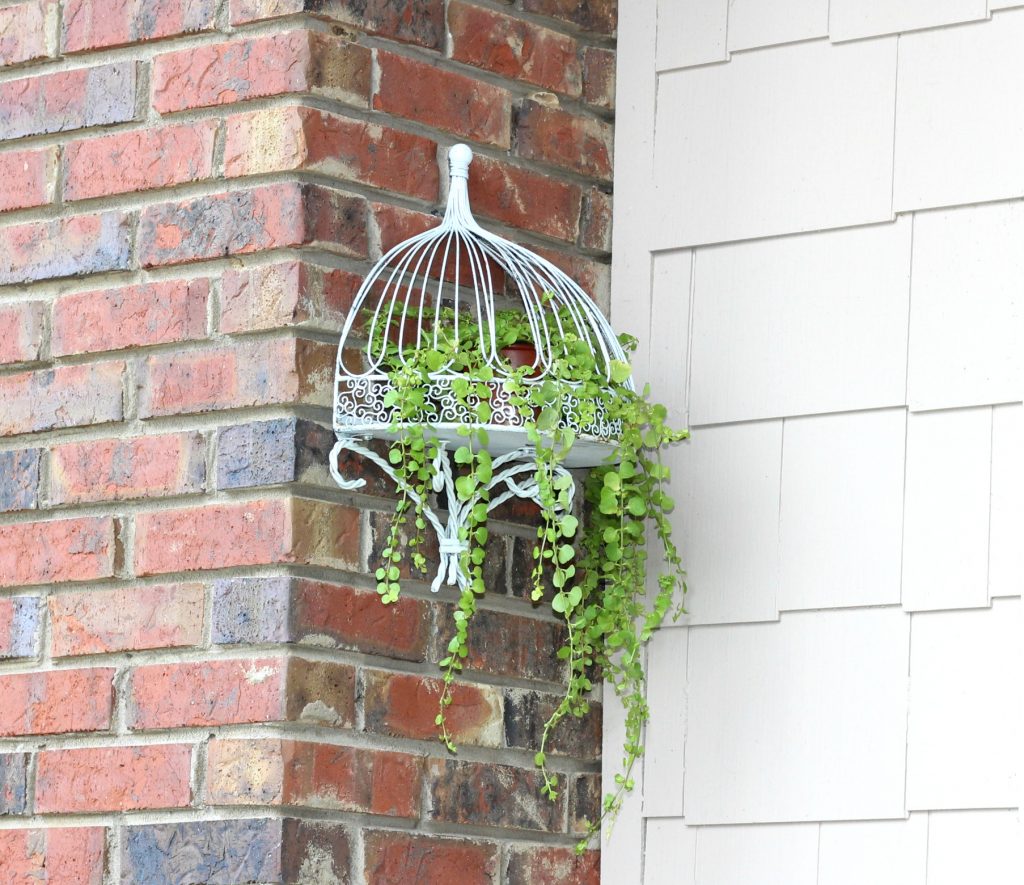
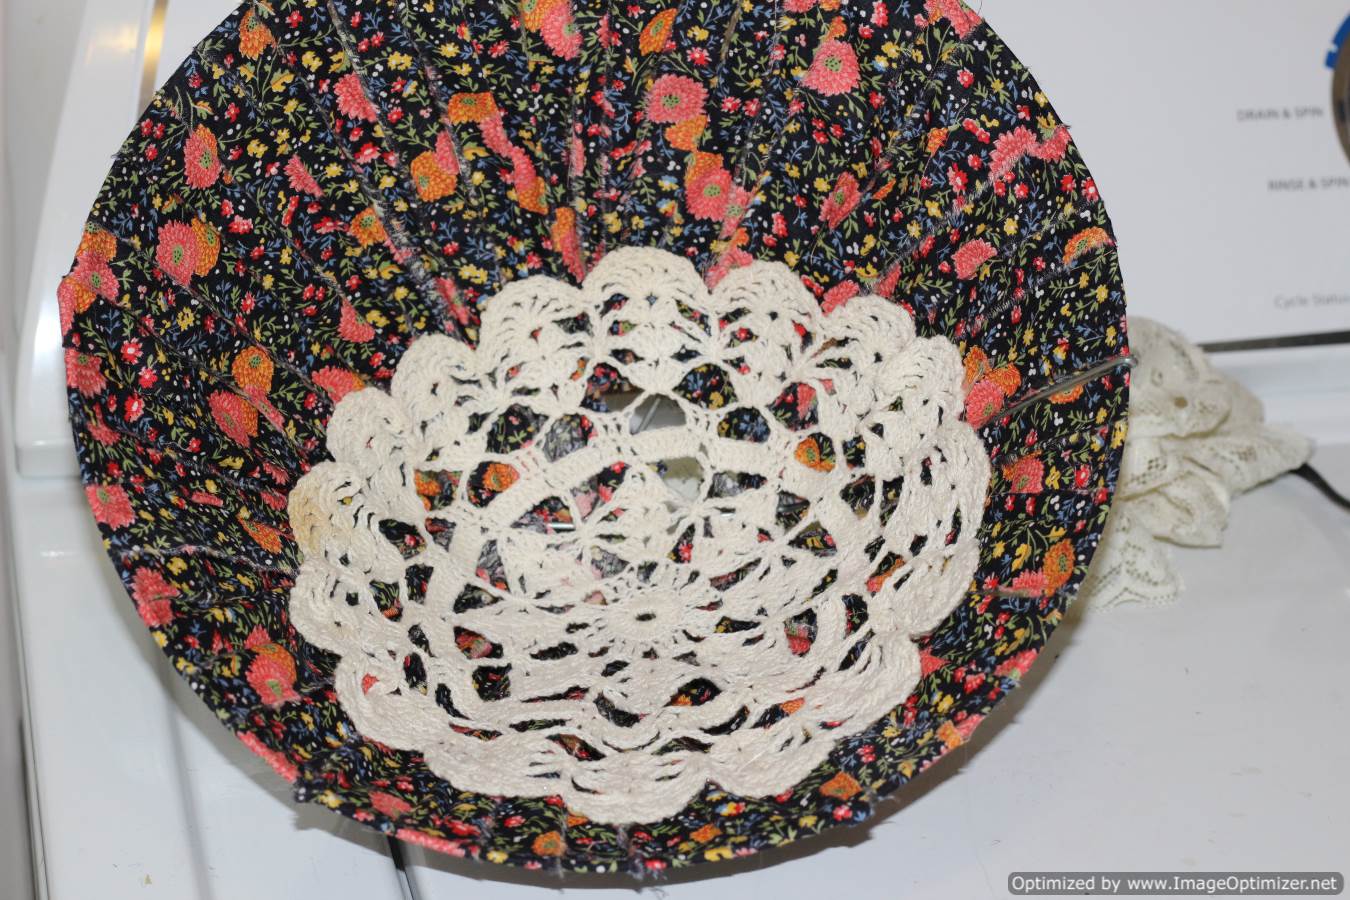
I’d love to make a funky wreath out of the wire basket below, but my front door would never close. As you can see, this is the kind of basket you stick a coco liner in, followed by dirt and a plant. It already sits naturally on its side, and is perfect for an arrangement. But I’ll just tell you ahead of time y’all, I’m not the least bit crafty. You should see me at thrift stores turning objects around and around trying to get inspired, but I’m just as clueless before as after. 


plain-wire-basket-planter


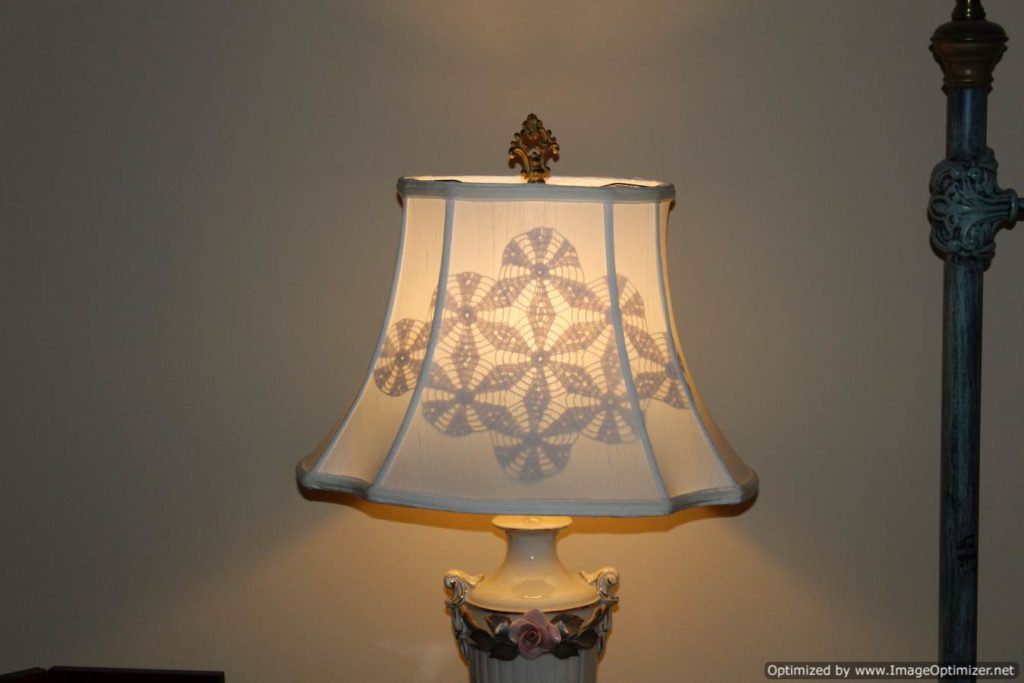
Imagine the basket as a lampshade…it’s about the right shape, eh? Pinterest has a few lampshade projects showing shades covered with torn fabric strips and I’ve been wanting to do one ever since I saw it. That was the vision and the plan for this and use up a bit of fabric in the process. The below is my favorite Fall-ish fabric I found several years ago at an estate sale.


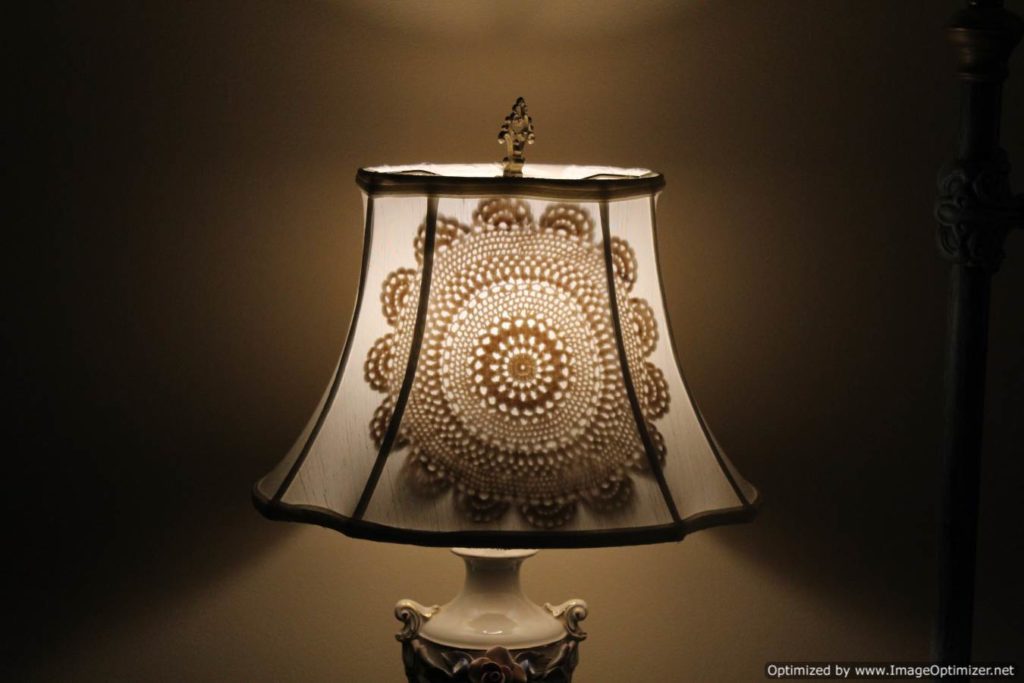
By the way, I’ve got a couple of other lampshade projects here and here, if you need some ideas. I love how they turned out. 


fall-fabric


Back to this project~I began by tearing 3/4″-1″ strips…not an exact science, mind you. I started with a small knot at the bottom of the basket, and planned to tie the other end to the rim of the basket.


putting-the-fabric-strips-on-the-wire-basket


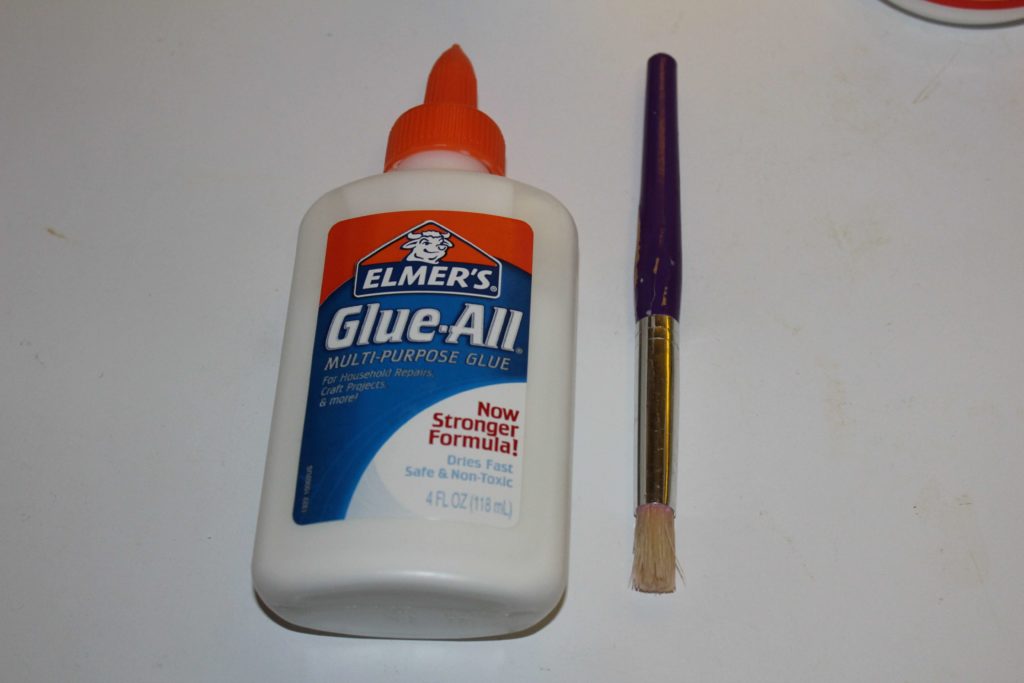
After several tied strips, I wasn’t liking the look at all. So I untied one end and decided to use hot glue instead. That gave better coverage with less gaps. I simply untied the lower knot and glued it to the wire rim instead, slightly overlapping to the strip before it.


The method? Simply fold the top of the strip over the bottom rim of the basket and hot-glue it fabric-on-fabric. Then fold the other end over the top rim of the basket and glued again, fabric-on-fabric.


I have to be honest and tell you that this part of the project was rather tedious & time-consuming. But I finally got all the basket covered like so. 


wire-basket-is-covered


A stained doily from my huge doily stash went on next to cover the opening at the bottom of the basket. The stain will be covered by the next items to go in.


wire-basket-and-vintage-doily


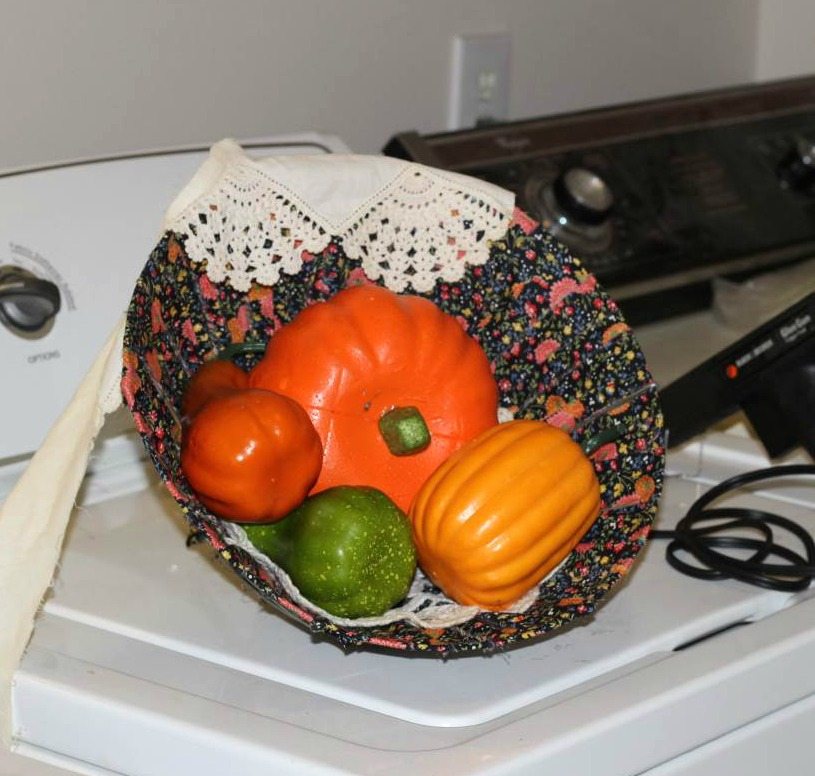
Here’s a Dollar Store pumpkin going in next…


dollar-store-pumpkin-into-the-wire-basket


Followed by several Dollar Store pumpkins and gourds from last year….


putting-the-fall-arrangement-together


Toying with the idea of putting more vintage doilies at the top, but decided against it.


putting-the-fall-arrangement-together


You know how I know it’s really Fall every year? By all the acorns and hickory nuts that congregate on the grass. Certainly not by the temperatures, because it’s still in the 90’s here in Alabama. So last year when I wrote “When Hickory Nuts Fall,” I got a whole bunch of responses from readers suggesting decorating with them rather than gathering by the buckets full and throwing away like we usually do. It never occurred to me to use them in decor.


How to show them? The basket fit nicely on an old silver tray with the nuts arranged around it, but the nuts don’t show up as well as they do in the next photo using a white wooden tray.


Fall-arrangement-with-nuts


Nice, but it still needed something. Well, it so happens that I lucked up on these pretty leaf garlands in a thrift store yesterday, and they are thicker and fuller than those from the Dollar Store.


hint-of-fall-arrangement-in-wire-basket


I’m enjoying the arrangement, and it gives a hint of the coming season until Fall really gets here.

hint-of-fall-with-wire-basket

And guess what else I found at the thrift store??? I went to 4 thrift stores and finally found something I could use and liked! I can’t resist showing you because you’ll probably see it again…this awesome broom! And what, pray tell, does this remind you of???


witches-broom


Hope you like it! 


And now, don’t forget to visit the other awesome blogger’s beautiful crafty projects below:


INLINKZ:

An InLinkz Link-up


Filed Under: Home and Garden DIY Tagged With: dollar store, fall arrangement, fall crafts, fall decor, fall decorating

Fancy Vintage Planter Made from Thrift Store Finds

July 27, 2017 by Florence 70 Comments

I’m excited to be a part of this month’s Thrift Store Decor Upcycle Challenge! Scroll down to read about the Challenge, and see how this project evolved!


fancy-vintage-planter-made-from-thrift-store-finds


Thrift Store Decor Upcycle Challenge

The Rules:

  • Upcycle an item(s) from a thrift store, resale store, or garage sale into a new piece of decor.
  • There’s no monthly theme.
  • There’s no budget to stick to.

Meet the Hosts

Amanda | The Kolb Corner Kim | Made in a Day
Victoria | Dazzle While Frazzled Pili | Sweet Things
Debra | Shoppe No. 5 Jeannee | Shepherds and Chardonnay Sue | A Purdy Little House
Kimm | Reinvented Ann | Duct Tape and Denim Kathleen | Our Hopeful Home
Dru | Polka Dot Poplars Toni | Small Home Soul Angela | Simply Beautiful by Angela
Michelle | Our Crafty Mom Marie | DIY Adulation Chelsea | Making Manzanita
Michelle | Michelle James Designs Denise | My Thrifty House Sara | Twelve on Main
Molly | Just a Little Creativity Chelc | Inside the Fox Den
Colleen | Life on Kaydeross Creek Florence | Vintage Southern Picks

Make sure you follow our board on Pinterest for more upcycled decor inspiration!


Fancy Vintage Planter Made from Thrift Store Finds


One day recently I was in the Salvation Army Thrift Store to see if I could find something…ANYTHING to inspire me for the monthly Thrift Store Challenge. I’m a part of a group of DIY’ing bloggers, so I want my project to be worthwhile.


The rules are simple: transform a thrift store find, yard sale find, or resale store find into a new piece of decor. No theme to stick to and no budget.


Wouldn’t you know it…I couldn’t find a darn thing! Doesn’t Murphy’s Law say, when you’re looking for it, you can’t find it?? Out of the store empty-handed! All you like-minded shoppers know exactly what I mean.


A few days later, I drove across town to another Thrift Store I like, but don’t go to often because of the distance. I found mostly things for my Etsy shop, but nothing to repurpose. And THEN……I SAW it!


Finding the Thrift Store Treasure~


It was pricey, but at 30%-off-day, I got a beauty for $4.19.


I fell in love…and knew what I wanted to do…


chippy-wire-sconce


This is wire and metal with a perfectly chippy look! You can see in the bottom photo that it is actually a sconce to hang on the wall like this! (below)


chippy-wire-sconce

The Repurpose Plan


Simple. Hang it upside down and put a trailing plant in its little “tray”… (the top of the sconce).


Off to the nursery….


Since I live in the Deep South, planting season is over because it’s so darn hot. Nobody is in the mood for outdoor gardening! So it was slim pickings at the plant place, but I found exactly what I was looking for….”Creeping Jenny,” my favorite trailing plant. $3.74 for a little pot.


And then as I was walking past one of my junky piles at home, I spied a funky gold thing I’ve had in my stash for a whole year. I’d been pondering how to use it.


gold-camdleholders


I’m talking about that gold thing on the bottom. I found it at a Thrift Store in Maryville, Tennessee. I think I paid 99¢.


These were part of my “Smoky Mountain Pickin'” haul…a bunch of fabulous vintage finds from a year ago with a little history of the abandoned town of Elkmont in the Smokies.


I’ve seen the gold thing repurposed into a cute necklace holder, so I planned to do that and list in my Etsy shop, but I never got around to it.


So what does this have to do with the sconce? I’ll tell you…I had a light bulb moment! Let’s put the gold thing on the bottom of the sconce to decorate it and add a bit of extra oomph! I got busy spray painting it white.


funky-metal-piece-painted-white


And by the way, here’s the “Cheapskate Picker’s” cheapskate spray painting station~


painting-station


I asked hubby to drill a hole in the masonry for me, and here it is!


The Finished Fancy Planter


fancy-vintage-planter
The Fancy Vintage Planter


Don’t you think this would have been a bajillion dollars at Pottery Barn or Ikea??


And with the trailing tendrils of Creeping Jenny….


planter-with-creeping-jenny


View from the driveway~


fancy-planter-with-creeping-jenny


I’m so proud of the new fancy planter!


About Creeping Jenny


As you can see, it’s a pretty trailing plant, and ground cover. Though it looks delicate, it’s actually hardy and versatile if you give it plenty of water. During the Summer, I water and mist its leaves twice a day, and it’s thriving! I thought it was a shade-loving plant, and it is, but it also does well in sun. It’s easy to root, too, if you want to propagate. Just snip some tendrils and stick in water.


Hope you liked the fancy vintage planter made from thrift store finds!


And now, don’t forget to visit the other bloggers in the Thrift Store Challenge to see their inspiring projects!


Sharing with these link parties~


And now for more thrifty goodness!

Check out what my fellow upcyclers created below!

An InLinkz Link-up


—


Filed Under: Home and Garden DIY Tagged With: diy, DIY transformation, making a hanging planter with thrift store sconces, making a vintage planter, repurposing thrift store sconces, thrift store repurpose, thrift store upcycle

DIY Funky Junk Mobile Art

July 17, 2017 by Florence 58 Comments

I’ve been mulling over a hanging mobile idea quite a while….just needed a little motivation to get going!  And I’m so glad for the incentive to finally create what I call my “DIY Funky Junk Mobile Art”!

And this month my incentive was the Craft Room Destash Challenge! Every month, a group of bloggers challenge each other to create a new craft or project from their own stash of goodies! Check out some awesome creations you might be able to make from your own stash!

We are allowed up to $10 for necessary supplies to complete it. Luckily, this cheapskate didn’t need to spend anything more! I’ve been hoarding collecting all these bits of junk while waiting for inspiration to hit in how to use them.

 craft-room-destash-challenge


[clickToTweet tweet=”What crafty creations could you make today from YOUR craft stash?! #CraftRoomDestashChallenge” quote=”What crafty creations could you make today from YOUR craft stash?! #CraftRoomDestashChallenge”]

If you’d like to join in the Craft Room De-Stash Challenge, you can request to join our Facebook group here!


diy-funky-junk-mobile-art


It’s a Mobile, but not a Mobile. It’s Mobile “Art”

Everything came from estate sales or trash. At least one is “mystery junk,” which I’ll show you further down.

I created a mobile, but it’s not the traditional kind that makes pleasing tinkling noises when the wind blows. My mobile is more “art” to display junky pieces of flotsam and use up a few beads.

Here is a mere fraction of my bead stash. I bought these and more from a yard sale a few years ago. I planned to sell them in my Etsy shop, but I found they were pretty ordinary, so I decided to use them instead. This is a great way because it makes the mobile so much prettier and more interesting.


bead-stash


I found out a long time ago that beading and jewelry-making were not my thing at all! Ha! Too tedious. I wouldn’t have been able to complete this project without the jeweler’s loop below that fits around the head. This is great for other close work like threading the needle on a sewing machine!

My first husband worked at a jewelry shop and got this for me. I’m so glad to have it! He died some years ago…I wrote a post on how I managed to survive that very hard time in my life.15 Ways to Survive Widowhood.


jewelers-headset-for-close-work

 Creating the Mobile~

For this fun project I used what I had on hand:

  • parts of an old mobile that fell apart
  • junk from a vintage telephone I took apart a while back
  • small junky pieces I’ve picked up at estate sales
  • metal rabies dog tags I found in the trash behind the vet’s office when I was looking for boxes
  • vintage skeleton keys
  • more modern keys
  • an old hinge thingy


I’m not sure what the iron “S” that’s supporting all this junk came from. It was a freebie at a yard sale.


iron-s
You would think I could have picked up that piece of paper!


Working with the “S” was a bit of a balancing challenge. First it had to balance horizontally in order to be relatively level while hanging in the air. I did that using lots of fishing line tied at various points around it.


Then it had to be balanced as I started hanging the beaded junk. After I got everything on, it evened out. I really love the look of the randomly strung beads!


We are enjoying it now on our covered porch.


The Finished “Art”


Daylight…

hanging-mobile-art


And Dusk….


a-view-at-dusk


Just a close-up….

The Parts of the Mobile “Art”~


mobile-art-closeup


Here are a few close close-ups of some of the more unusual pieces of junk, if you’re interested.


These are bits of the old mobile. I started to throw it away a while back. I’m glad I saved it.


pieces-of-the-old-mobile


A brass mystery item from an estate sale…anyone have a clue what it is? The long tube part is hollow.


brass-mystery-item


Brass Shoe Ashtray from India…


brass-shoe-ashtray-from-india


Green bell-shaped rabies tag…


green-rabies-tag


The next three are parts from the old telephone we found at an estate sale. It didn’t work, so I took it apart to see what was in it.


old-gear


telephone-part


vintage-telephone-part


And finally, an old door hinge thingy~


door-hinge-thingy


I guess it goes to show you….you can make “art” out of just about anything!

[clickToTweet tweet=”I guess it goes to show you….you can make ‘art’ out of just about anything!” quote=”I guess it goes to show you….you can make ‘art’ out of just about anything!”]

I have a few more mobile art projects up my sleeve, so stay tuned!

And now, don’t forget to visit the awesome craft projects from the other talented bloggers!

Sharing with these link parties~


An InLinkz Link-up


Filed Under: Home and Garden DIY Tagged With: art project with junk, hanging mobile, junky art, making a mobile

Junker TV Tables Pulled from the Dumpster and Revived Again

June 18, 2017 by Florence 42 Comments

The “junker TV tables pulled from the dumpster and revived again” is a story I wasn’t planning on telling! Mainly because I wasn’t planning on giving them new life at all! We’ve had them a long time….so long, in fact, I can’t remember where we got them, but I bet we pulled them from a campground dumpster. When we’re camping, I always check the dumpsters, especially on Mondays when the weekenders have departed.

They were rickety and I can see why they got chunked. Sitting forlornly forgotten and unused in our basement, they’ve been gathering dust for years. I thought it was past time they landed in our next garage sale.

“I sure do hate to see those go,” hubby said wistfully. What? After all this time?? I pretended not to hear. “I sure do like those TV tables.” Sigh.

We’re SUPPOSED to be downsizing.

We’re SUPPOSED to be getting rid of excess junk.

We haven’t used them in years.

They’re STILL rickety.

“I wish you would fix them up.”


vintage-rickety-tv-tables

You know what that means. Work your magic on them Florence. Let’s-keep-these-rickety-TV-tables-we-don’t-need,-and-haven’t-used-in-years. He suffers from a malady I call Depression Thinking. Sometimes I think he has it worse than I do.

“I want to use them in the motorhome.” Our motorhome is OLD, with no slide, and limited room inside, but I bowed to the inevitable, and put them in my DIY project to-do list.

Fixing Up the Junker TV Tables~

Saltwash Technique

Since we’re keeping the-rickety-TV-tables-we-don’t-need, I decided to conduct scientific experiments, which is another way of saying, just do any old thing to them because they’re junkers anyway.

“Let’s use the SALTWASH,” I said to myself jubilantly. I was a little worried it was going to make them lumpy on top, and not smooth like tables need to be, but such was not the case.

For the uninitiated, Saltwash is a powdered paint additive. You just mix it into the paint color of your choice…to the consistency of thick cake batter. Then you start globbing it on. I chose green because our motorhome is green.


illustrating saltwash technique


Here it is globbed on. It’s probably supposed to be globbier, but I had to make it stretch as I was running out of paint.

Let dry till tacky to the touch.

Smooth out the peaks a bit with a brush.

Let it totally dry.

After totally dry, add the topcoat color.

Let that dry.

Sand to bring out the underlying color. Sounds easy right? It WAS easy.

TA-DAH!

saltwashed-tv-tables

Not bad, but a little blah.

I think we need to up the game with more serious scientific experimentation, don’t you?

Image Transfers Technique~

I decided I wanted image transfers in the middle. Can you do image transfers over saltwash? I have no idea.

What kind of image transfers? They’re a zillion images to choose from. Something travel related….motorhome means travel and foreign places. A little search on Graphics Fairy, and I found a couple of images I liked.

Using “Mod Podge Image Transfer Medium” for the first time, I really liked it and probably won’t go back to using regular Modge Podge. It’s much easier to get the paper off leaving the image behind. You can read all about image transfer techniques on The Graphics Fairy.

mod-podge-image-transfer-medium

And by the way, when doing image transfers, they tell you NOT to use an inkjet image…it won’t work. But it works fine. (I can’t be bothered with running down to Kinkos for a laser image every time I want to do an image transfer.)

Inkjet images will work if you wait 24 hrs to allow the ink to set. I have absolutely no trouble with smear or bleeding.

Here is a vintage map of France I chose. Be sure to smear the transfer medium on the correct side of the paper! That is, on TOP of the image. Ask me why I’m emphasizing that…LOL.

Completely cover your image with the white paste. See all that excess white paper on the side and bottom? Be sure to cut that off, trimming close to the image. Don’t leave it on like I did. It wasn’t easy to rub off.

map-of-france

 Fixing the Mistakes~

Mistake #1

See below the completed image transfer of the map of France….and here is mistake #1. Can you see it?

Other than there being all that white paper on the side…

Other than it being a little off-center….

The printing is backwards! I totally forgot to do a reverse image, necessary when you have any kind of printing, words, or script involved.

map-of-france-mistake

So HOW am I gonna fix that!!!??? Just keep reading. I’ll show you what I did.

Table 2….another oops. Holding the image above the table while eyeballing the center, the image literally slipped out of my hand. Unfortunately, it didn’t slip into a centered position. Yikes!

As Momma used to say, “You’ll never notice it on a galloping horse.” But it bothered me.

roma-stamp-mistake

This calls for more image transfers! Remember it’s a scientific experiment!

image-transfer-right-side

You see how I placed the postmark image right over the word “France”? The rest of the backwards words on the map are so small, they’ll never be noticed. It’s for us, so it doesn’t have to be perfect.

Same with the one below~

image-transfer-correct-side

 Mistake #2~

But we still have the problem of everything being off-center. Here is what I did to correct that.

I just happened to have a whole bunch of vintage foreign stamps I got at an estate sale. Mod-podging those all around the images helped to balance it out.

finished-junker-table-1

Finished! They’re not perfect. But for junkers, we’re happy. We can enjoy using these once again.

finished-junker-table-2

For a fun touch, I tried using crackle medium on top of the saltwash and image transfers, but it wouldn’t crackle. That’s OK. Not bad for scientific experiments.

twin-tv-tables

Here we are enjoying it at the campsite!

junker-tv-table -at-the-campsite


Want to see a tour of the vintage motorhome? Let me know in the comments!

Filed Under: Home and Garden DIY Tagged With: fixing diy mistakes, fixing up junkers, fixing up tv tables, image transfer technique, making tv tables pretty, saltwash techique, TV tables

Doily Lampshade Makeover with a New Twist and Husband Approved

February 5, 2017 by Florence 44 Comments

While I love shabby chic and admire upcycled lampshades dripping with pearls, studded with tattered fabric roses, and covered in doilies and lace, I know it won’t fly with hubby. (Just check Pinterest for lacy lampshades of all types.) In doing the next needed restoration, I wanted to try out a doily lampshade makeover – husband-approved. I certainly had no inclination to buy a new shade.

I also love lampshades stripped of all fabric, decorated around the edges and ribs with bits and bobs, but let’s face it, they’re impractical for real home use.

I’m the kind of gal that has a little of the romantic frou-frou gene, a little of the minimalist gene, a little of the rustic primitive gene, and a lot of the traditionalist gene. And I’m married to a guy who thrives on tradition…not an ounce of frou-frou lives in his body.

Enter the tattered lampshade…..how to get “the look” without looking like you’re getting the look?

doily lampshade makeover
Another tattered shade


If you remember, the last lampshade got a makeover using men’s ties….

Because this is going in our bedroom, where hubby and I will see it every night, I thought, “why not place doilies on the inside of the shade?” Would this work?

The Doily Lampshade Makeover

As you can see in the photo, only half the inner lining is shredded. I decided to tear the rest of it off for a more uniform look.

Selecting only 2 doilies out of my stash, I centered the doily on the inside of the shade right over the ribs, which are now exposed.

One of the doilies even had a minor stain, but doesn’t show.

Next I glued them on, using regular Elmer’s glue.

Dab the glue onto the most solid areas of the doily, then press onto shade.

I did not put the glue directly on the shade, and so far, it is adhering well.

doily lampshade makeover

Here is the final effect. I love it! Looking like a regular lampshade on the outside (when the lamp is off), it will satisfy the most non-frou-frou of hubbies, but delight the most shabby chic-loving, romantic, girly girls. It’s neutral and I don’t have to worry about colors clashing.

doily lampshade makeover
Lights on
doily lampshade makeover
Lights on Other Side
doily lampshade makeover
Lights off
doily lampshade makeover
Lights off Side View

I decided to use only two, but you could use as many doilies as you want.

This is a quick 30-minute project, depending entirely on how big your lampshade is and how many doilies you want to use.

Please Pin or share!


Filed Under: Home and Garden DIY Tagged With: doily lampshade, lacy lamspshade, lampshade recovering, lampshade upcycle, recovering a lampshade, repurposing doilies

  • « Previous Page
  • 1
  • 2
  • 3
  • Next Page »

I’ve Been Featured…

ive-been-featured-link-party-buttons
oh-my-heartsie-girl-wonderful-wednesday-button
snickerdoodle-button

Beezer…Over the Rainbow Bridge 2017

Vintage Southern Picks on Etsy

Vintage Southern Picks on Etsy

Everything Square Dance & Western on Etsy

Everything Square Dance & Western on Etsy

© 2017 Vintage Southern Picks | All Rights Reserved

Disclosure: Some of the links on this website may be affiliate links. When you make a purchase from these links, I earn a small commission.