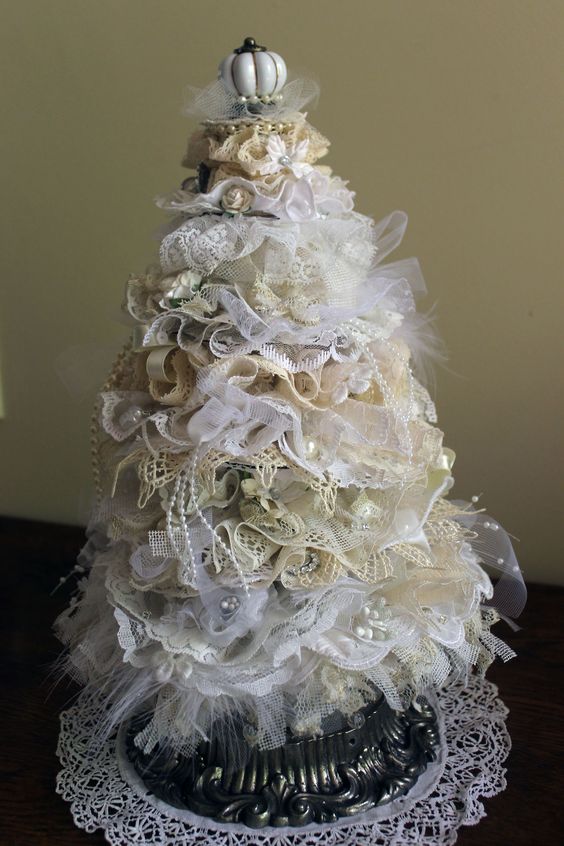
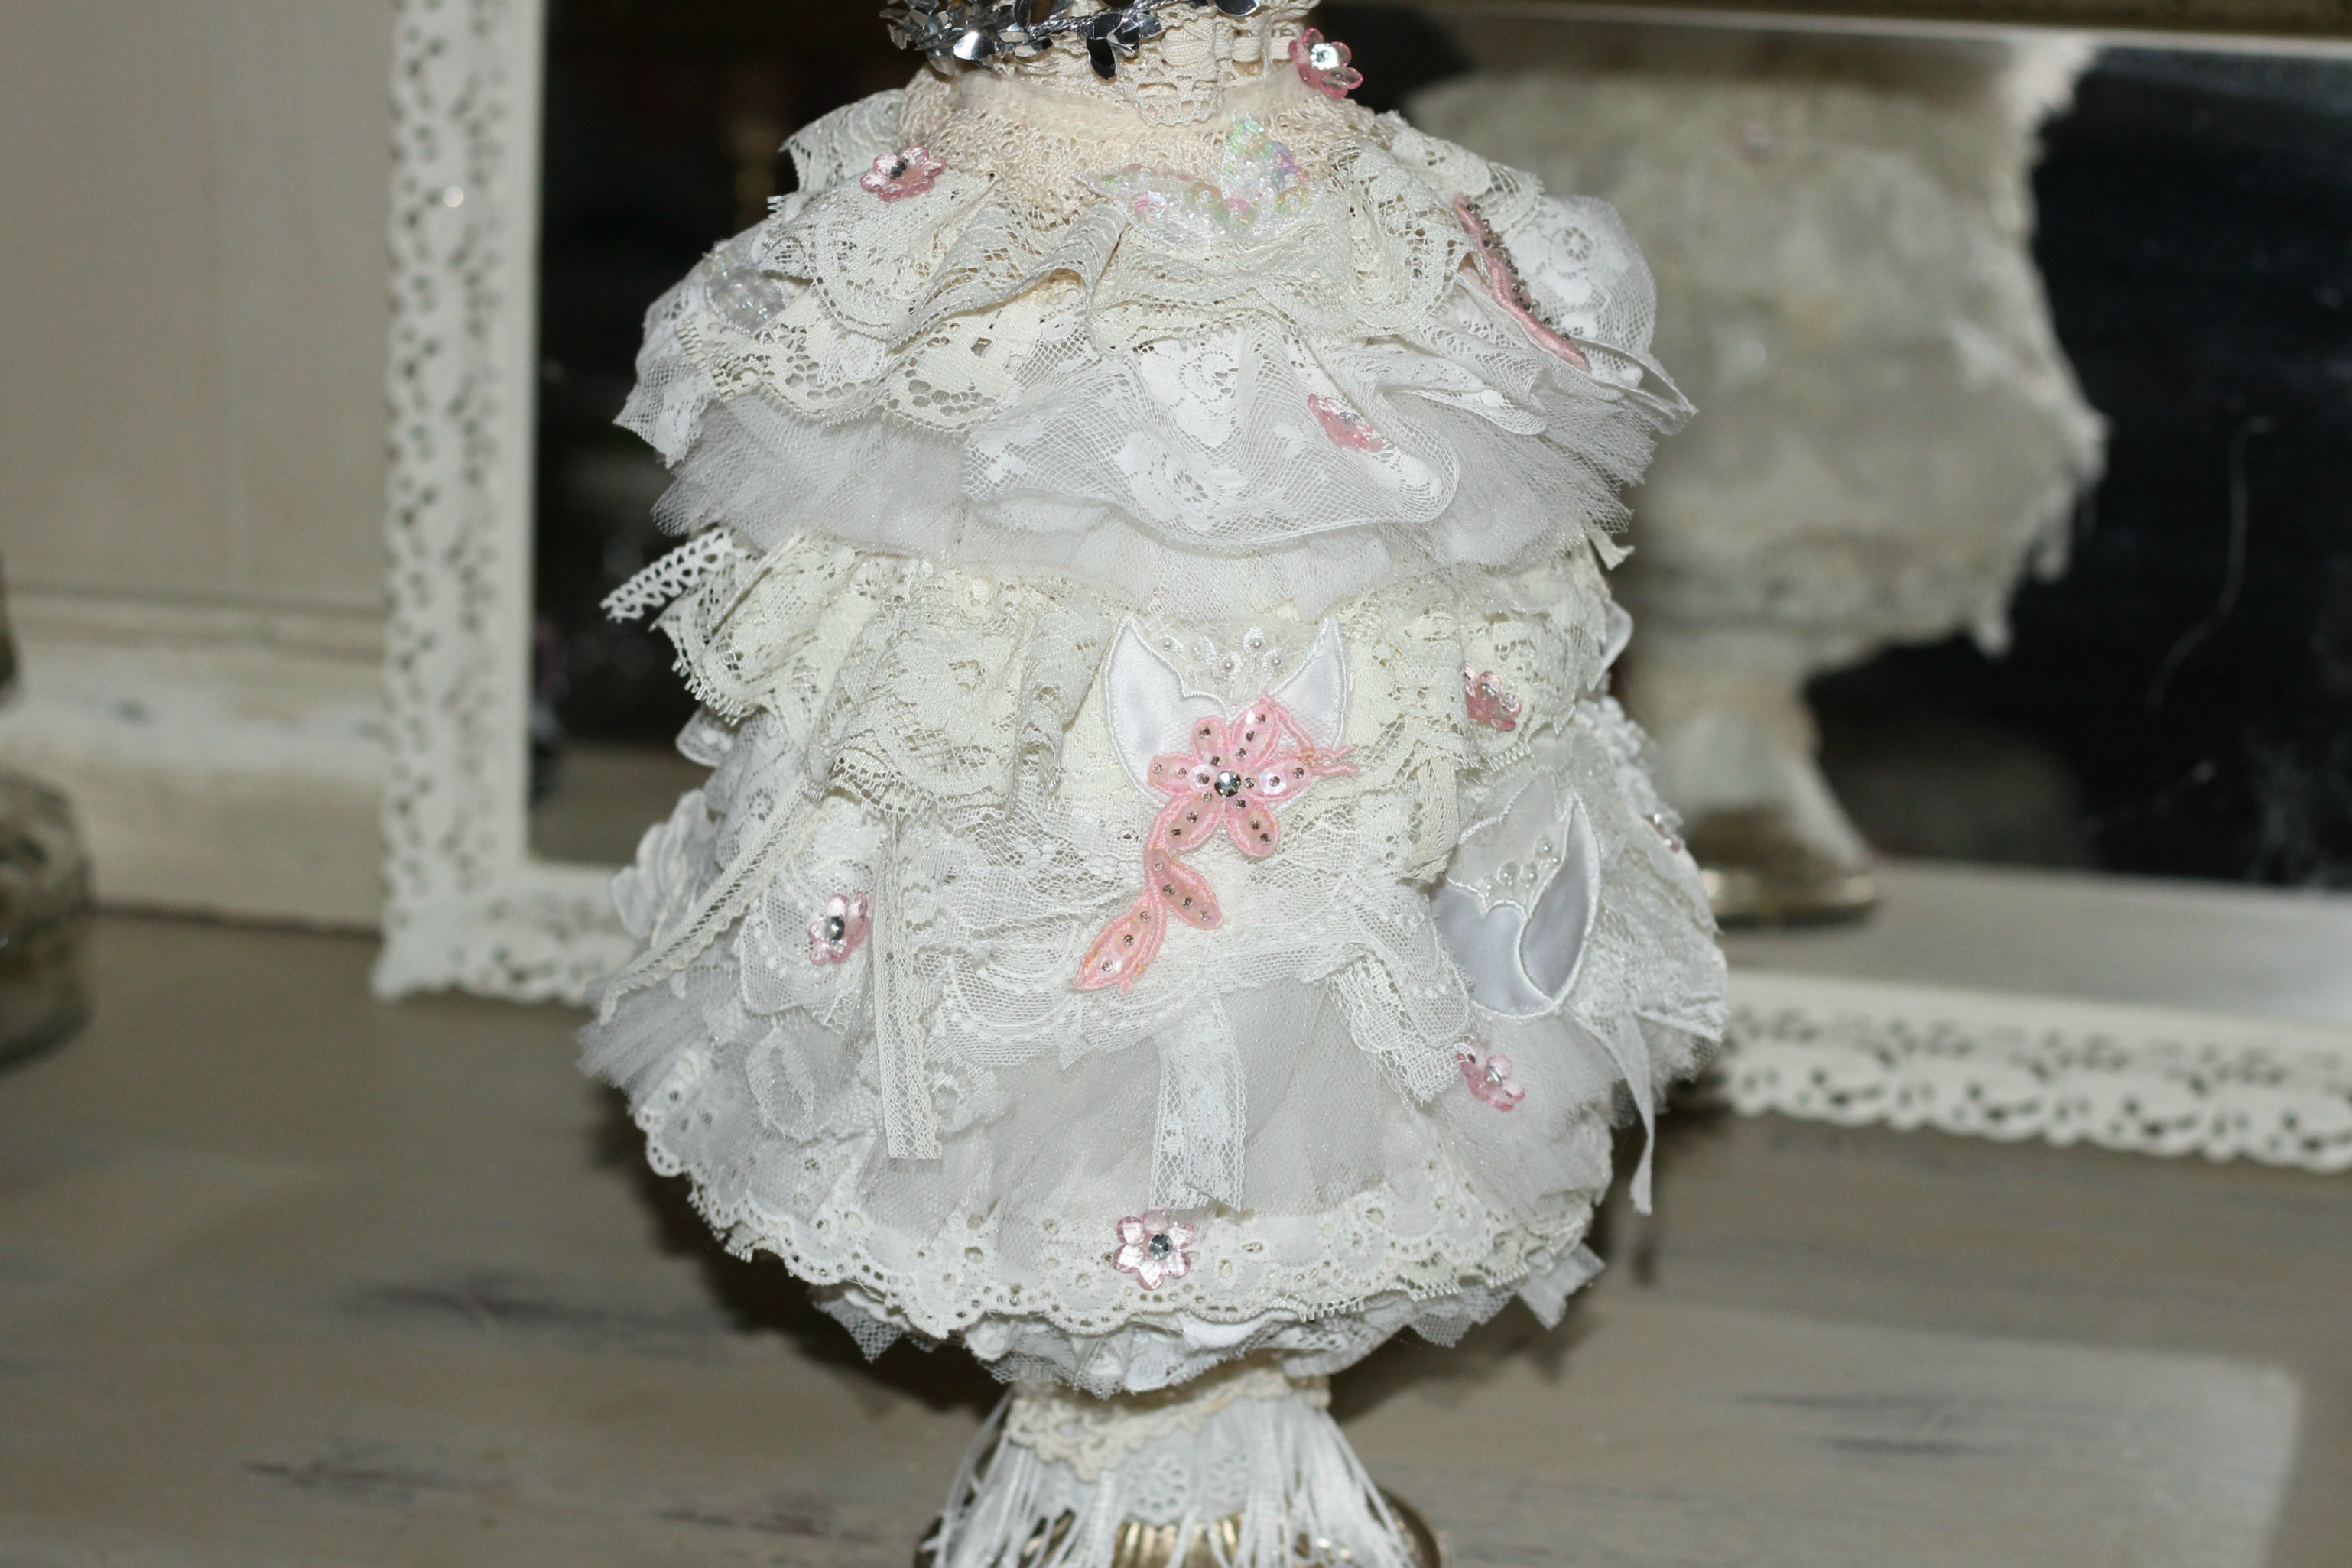
I love me some shabby chic and you got it with this tabletop shabby Christmas Tree with vintage lace and bridal trim! Everything on the tree was made using vintage and household items. Now since I’m a picker and go to estate sales all the time, naturally I bought some of this stuff in the past, but nothing was bought specifically for this project. As a part of the “C’mon Get Crafty” Link up this month, we are allowed up to $10 for supplies if needed.
Inspiration hit when casually browsing Pinterest one night, and I saw the Shabby Chic lace tree of my dreams!! I fell totally in love. On to youtube where I watched a tutorial on how my vision was created. Now this isn’t my tree, but it was THE VISION. Here’s the link to this tree if you care to watch: https://www.youtube.com/watch?v=x9uYmZ4gDy4&t=1670s
Isn’t it gorgeous??
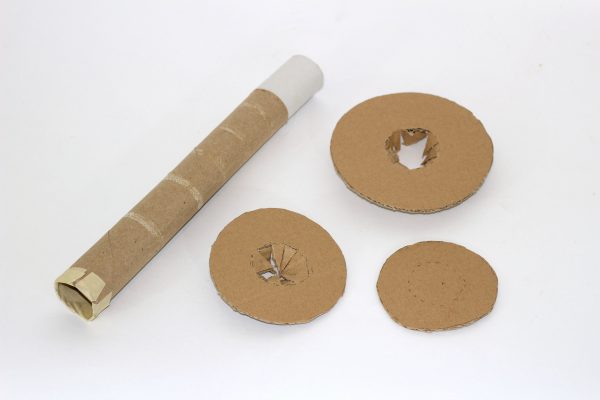
Using her tutorial as a guide, I used:
- A paper towel roll,
- a toilet paper roll…fitted into the bottom of the paper towel roll, which gave it greater stability.
- 3 cardboard discs of graduated sizes spaced down the paper towel roll. This is to help keep the Christmas tree shape. I cut the round discs from scrap cardboard box, and eyeballed for size. This step doesn’t have to be perfect.

Basic Construction
- Glue white paper doilies onto the discs in order to hide the ugly cardboard. They can show through the tree. I had to piece all of mine on as I didn’t have any the correct size, but this will work just fine.
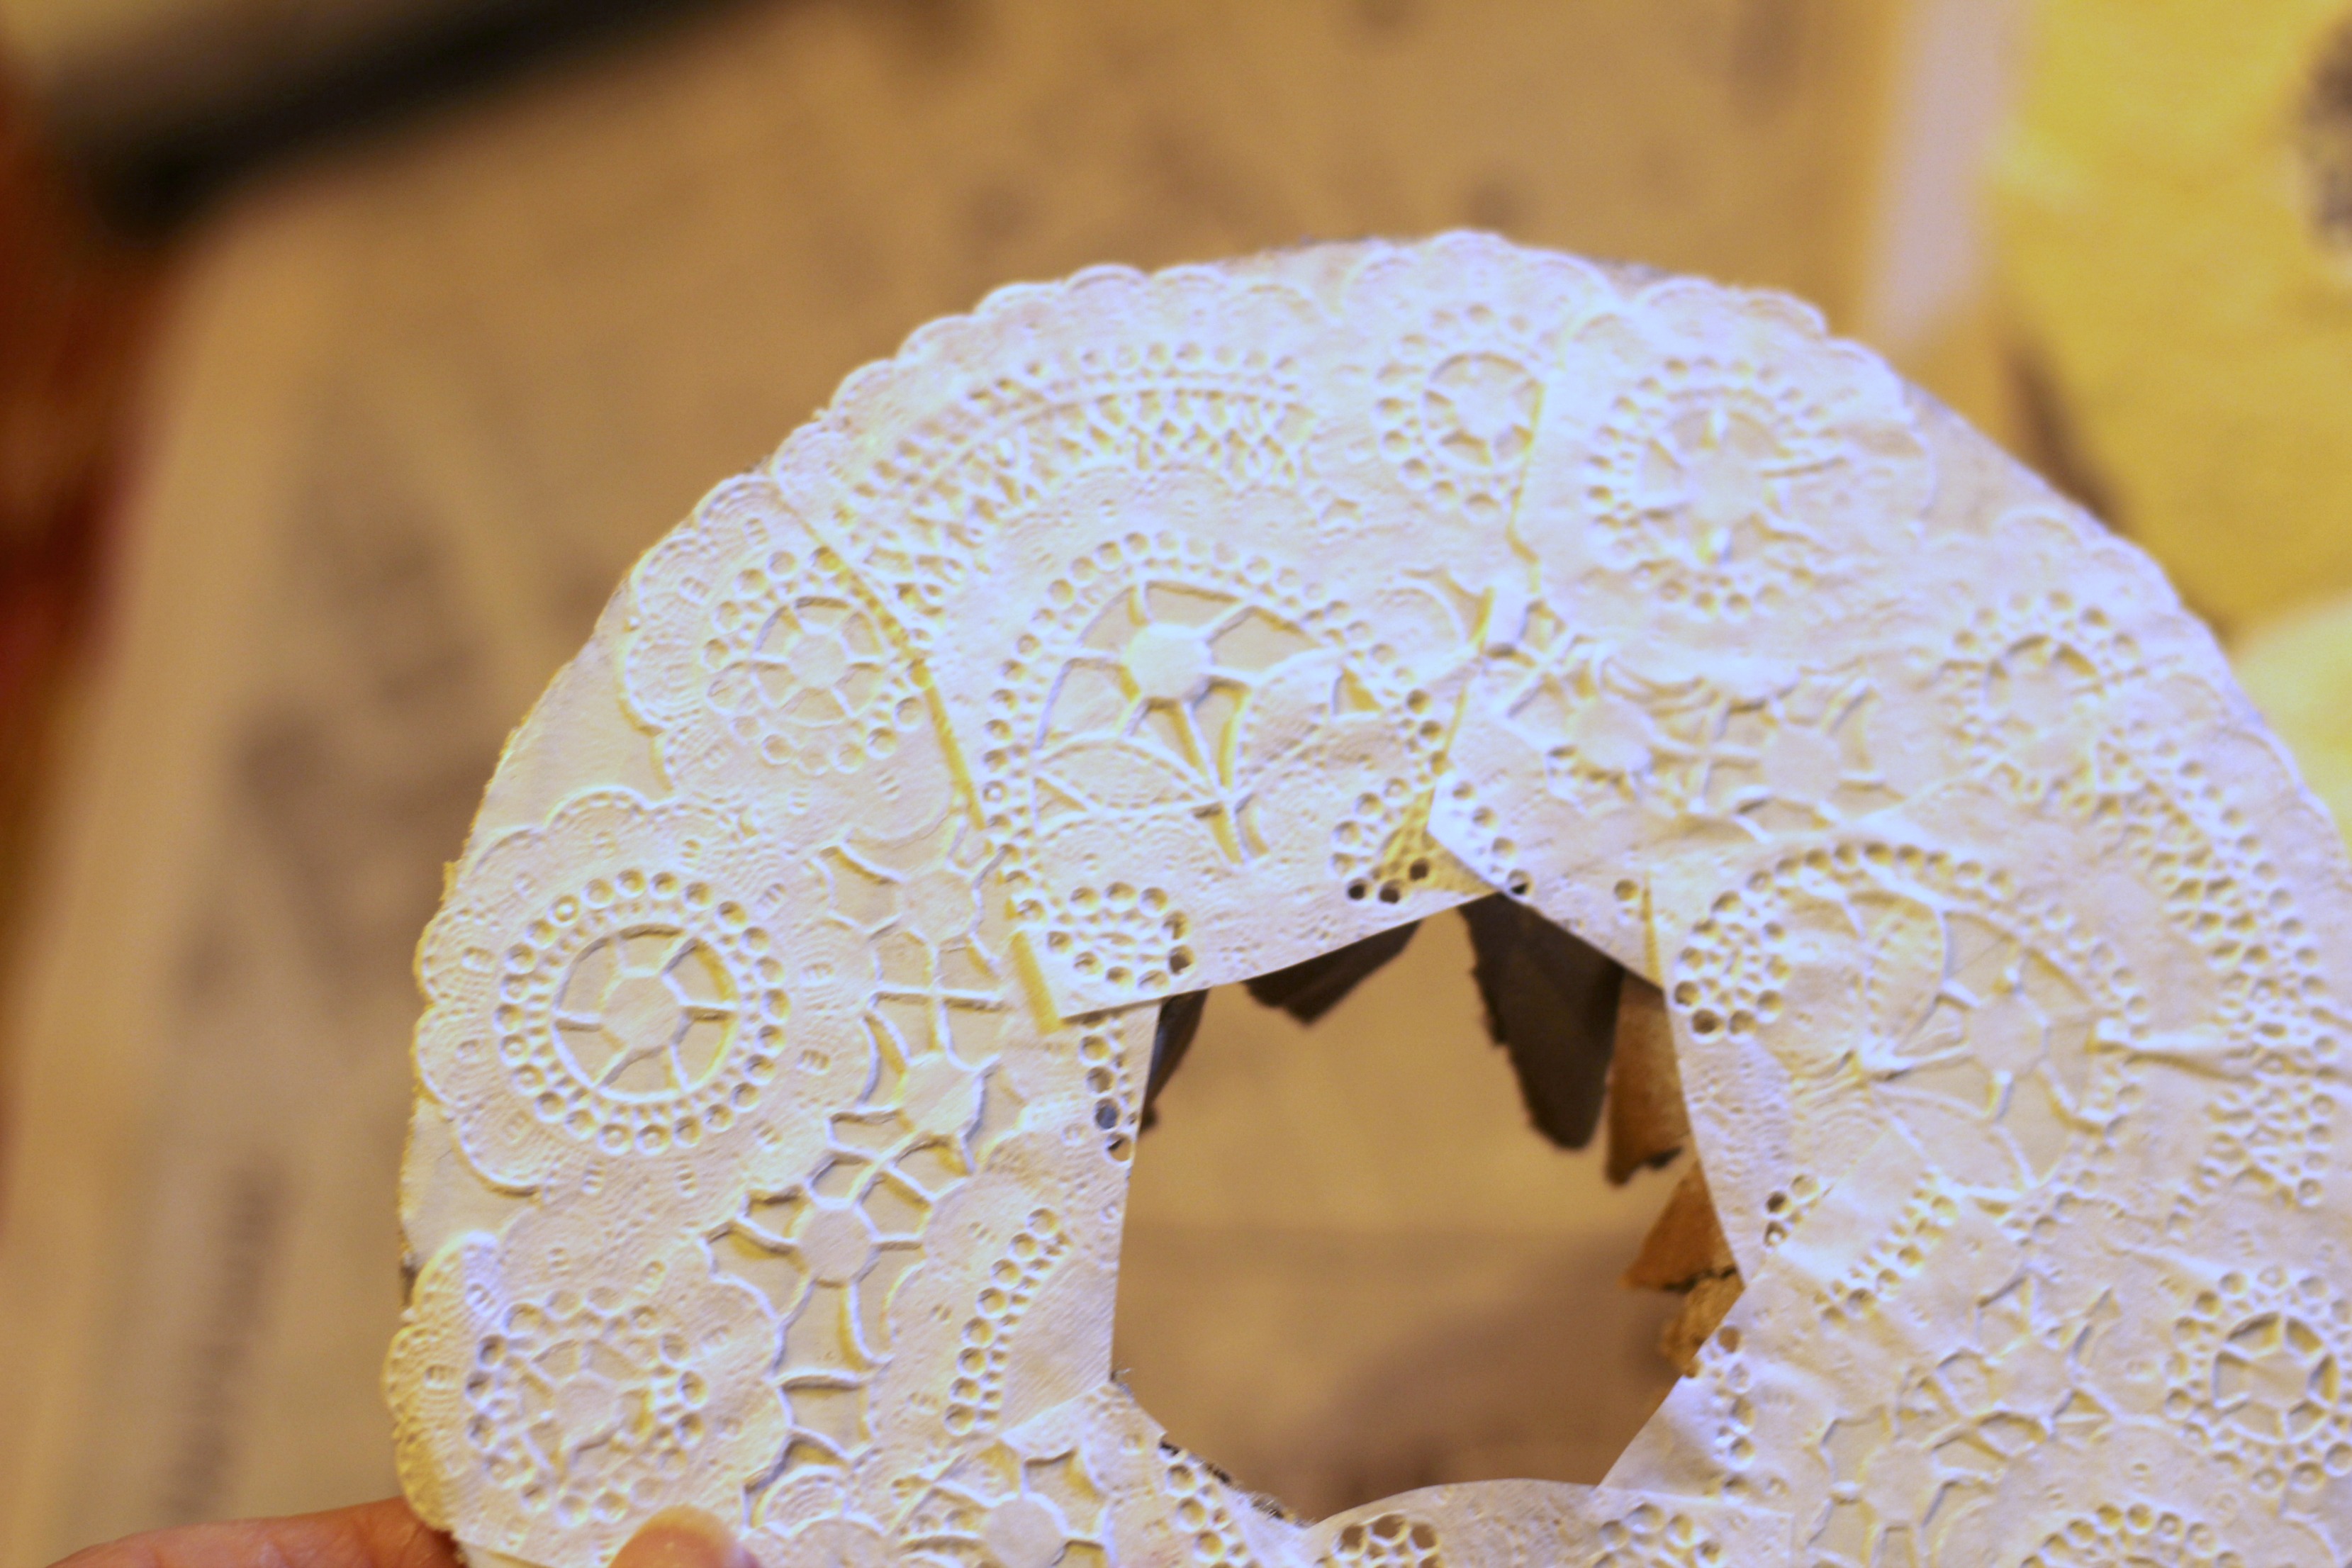
- Cut an opening in the discs large enough for the end of the toilet paper roll to pass through. I found it worked best to trace around the toilet paper roll, then add another 1/4″ and cut along this line.
- Put all 3 discs (or however many you make) on the paper towel roll.
- Glue them in place with hot glue.
Other Basic Construction Ideas…
- You could also use a narrow piece of wood like a dowel or chopstick, stuck down into florist foam, and glued onto a base.
- I also saw someone use an old perfume bottle as the base, all of which I thought were charming ideas.
What I Used:
- Bits of gathered and non-gathered crochet trims
- Bits of gathered and non-gathered lace trims
- White tulle bits
- White bridal trim
- White bits of lacey skirt overlay
- Pieces of a tulle shower curtain
- Eyelet lace trim…all sizes
- Bits of crochet ribbon
- Bits of sparkly bridal trim
- Moire strips
The Fun Part
- Gather all your lace remnants
- Girl, you just start a hot-gluing mad frenzy!
- Have needle and thread on hand to add gathers to lace and re-gather others. Some of my lace was flat and some needed a bit more gathering love.
- After all your lace is on, discs hidden, and tree shaped to your satisfaction, it’s time to decorate the tree with whatever bits and bobs you have on hand. (I had pink rhinestone buttons and pink rhinestone flower shapes from bridal trims.)
- I loved her use of tiny pearls to decorate with, but I didn’t have those. I used what I had on hand.

What I Used for the Base
- I used a vintage metal lamp part with a threaded rod attached as the stand on which the whole thing rests. Then stuffed a plastic bag inside, wrapped around the rod so the tree would stand straight
- If I hadn’t had that, I would have used a chipped crystal bowl, gluing the cardboard roll into the bottom.
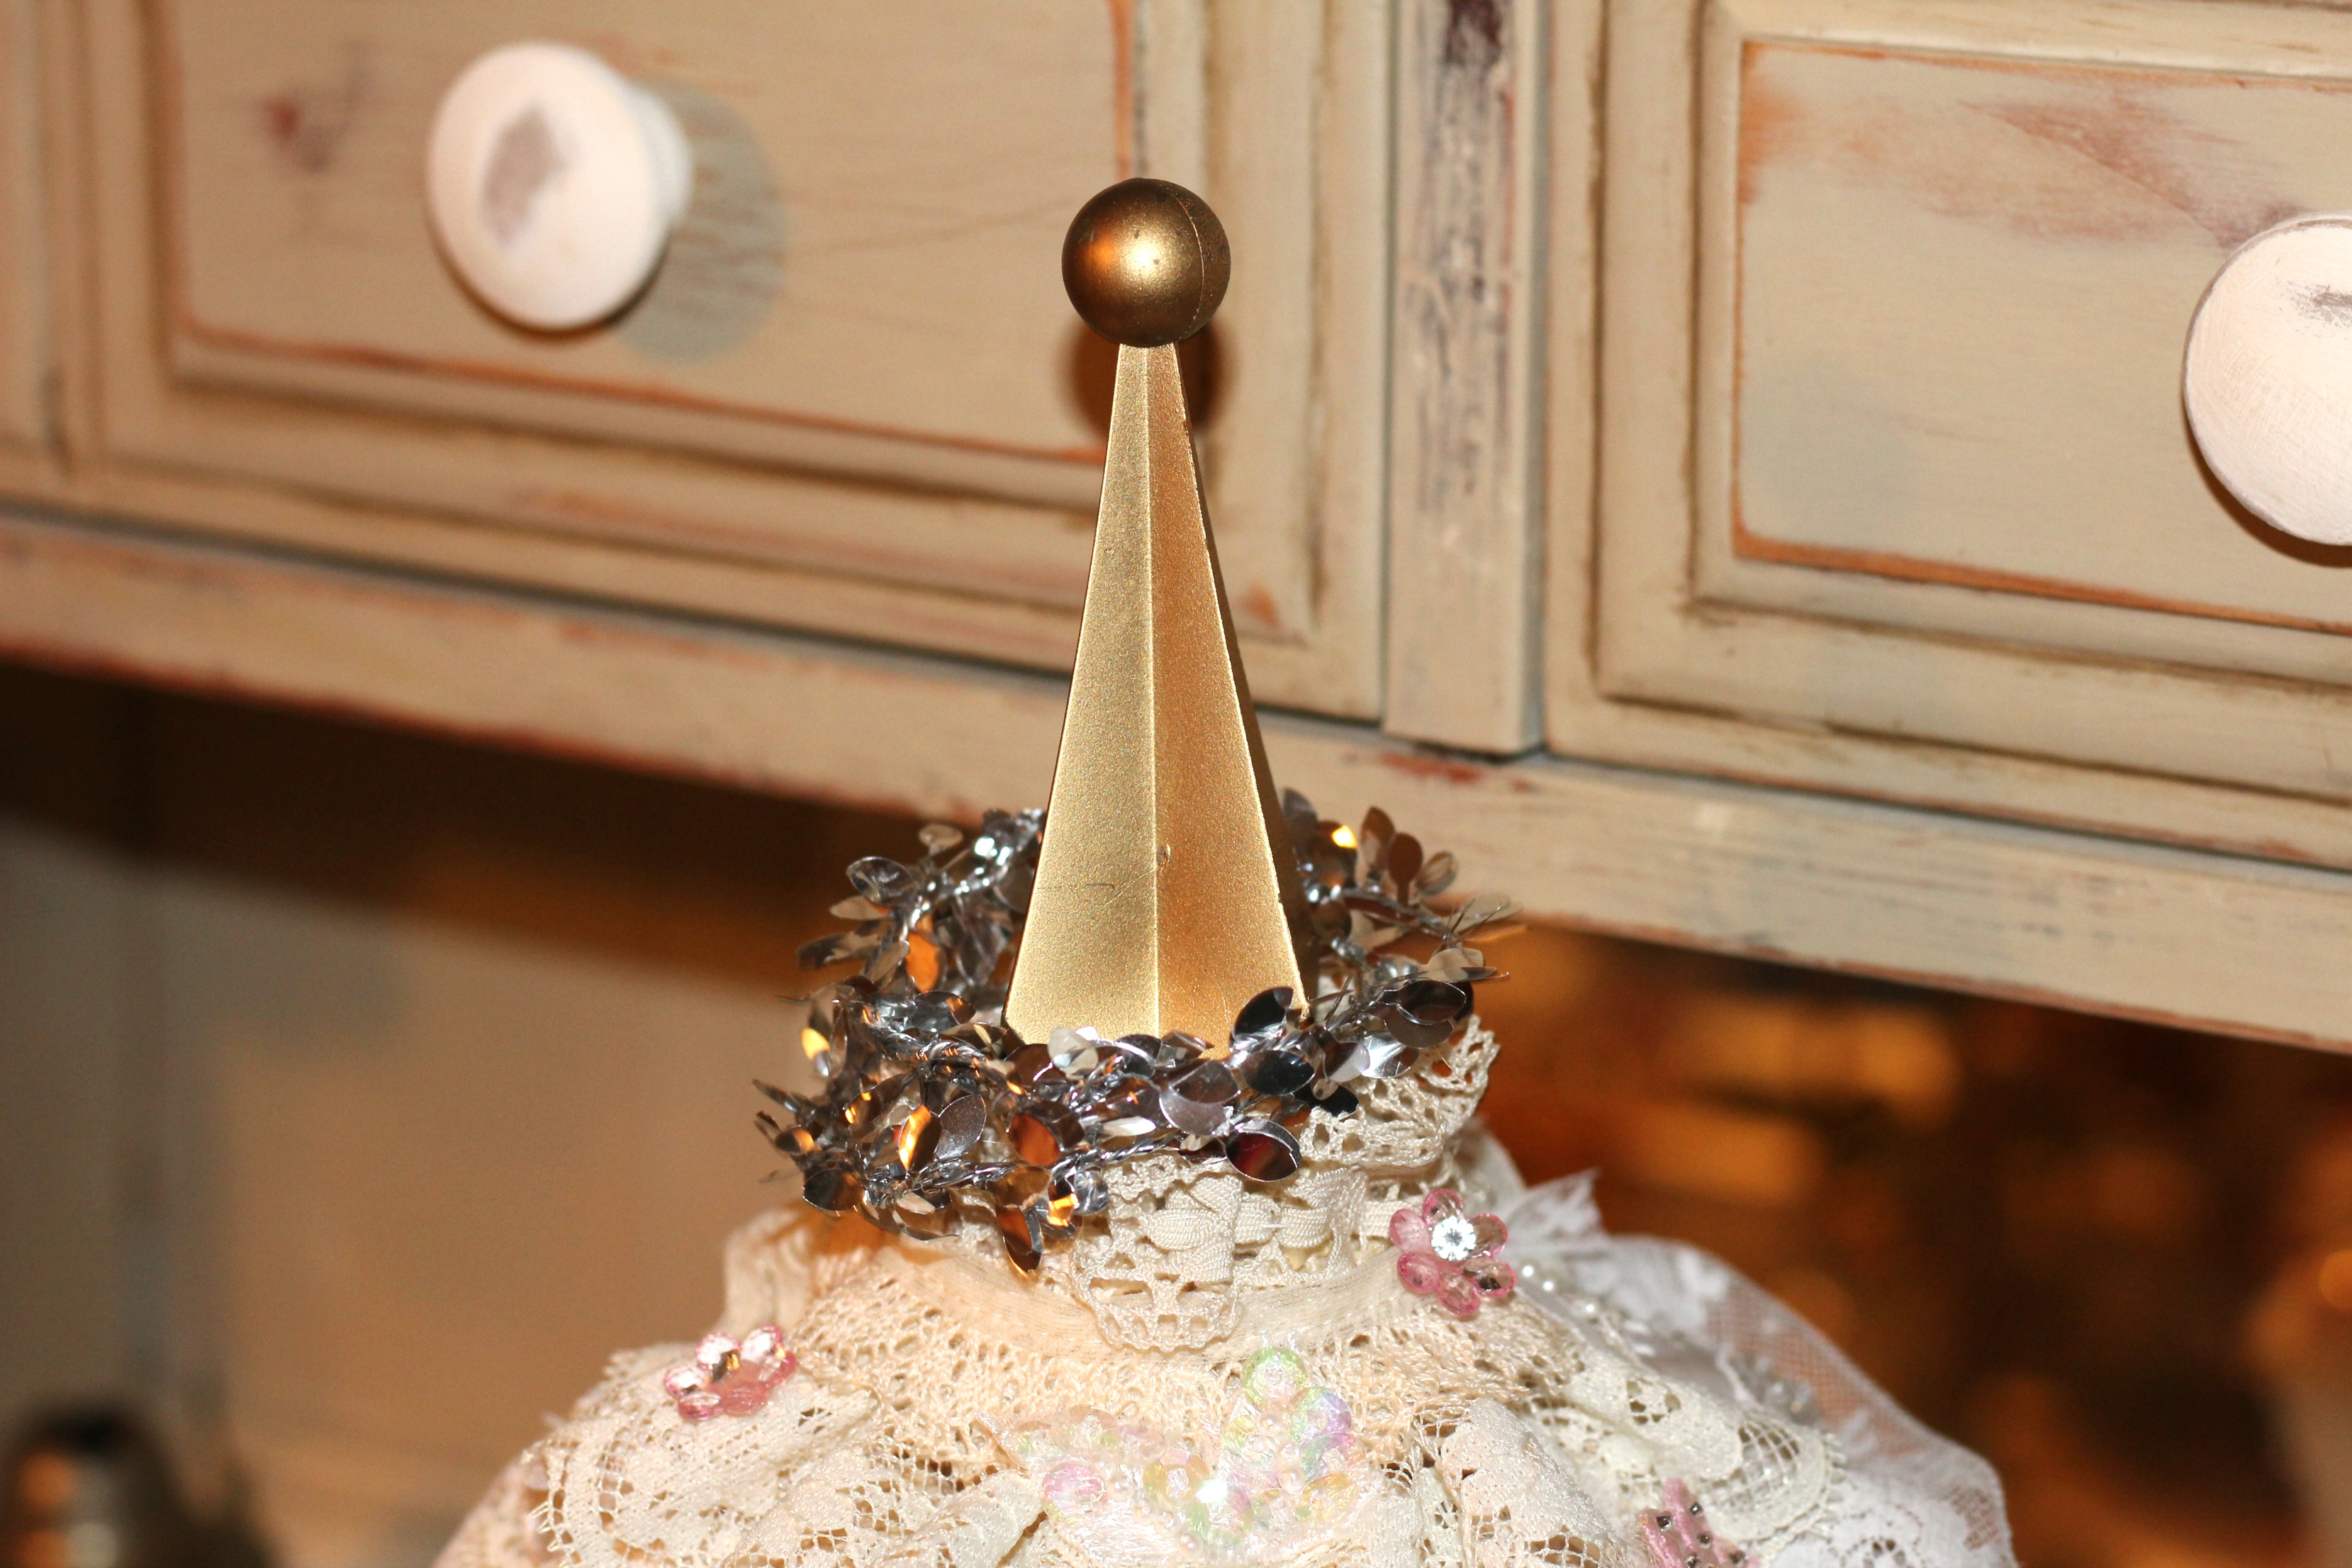
What I Used for the Topper
- The topper was an odd piece I found at an estate sale recently. I keep odd pieces of things around.
- I found 2 sparkly tinsel napkin rings in my Christmas stash, which I added to the top.
- You could use a cabinet knob as shown in top photo
- Mine are large enough to rest on top with no added gluing.
What do you think of the Shabby Chic Christmas tree?
Now be sure to visit all the other fabulous bloggers below, who have more inspiration to share…
[clickToTweet tweet=”What crafty creations could you make today from YOUR craft stash?! #CraftRoomDestashChallenge” quote=”What crafty creations could you make today from YOUR craft stash?! #CraftRoomDestashChallenge”]
If you’d like to join in the Craft Room De-Stash Challenge, you can request to join our Facebook group here!
INLINKZ: