Time for the first C’mon Get Crafty Blog Hop of the year, and I’m joining many other talented bloggers to show you a craft we create from our stash of supplies. Pink is my favorite color; Valentine’s Day is approaching; our weather has been dreary, and this little DIY Valentine Heart Wreath seriously makes me feel cheerier just looking at it.
[clickToTweet tweet=”What crafty creations could you make today from YOUR craft stash?! #CraftRoomDestashChallenge” quote=”What crafty creations could you make today from YOUR craft stash?! #CraftRoomDestashChallenge”]
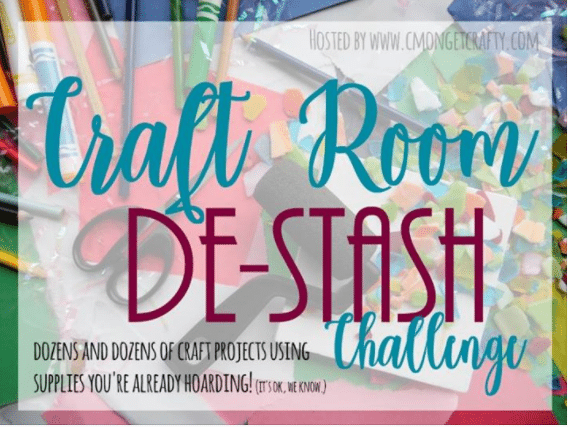
If you’d like to join in the Craft Room De-Stash Challenge, you can request to join our Facebook group here!
 Loading InLinkz ...
I created this beauty using everything I had on hand from the bit of cardboard, to the scrapbook paper, to the ribbon and buttons, I didn’t spend a dime. Per the rules, we are to not spend over $10 for needed supplies.

By the way, in case you couldn’t tell, my wreath is a girl. And she is modeled by “Flossie,” who took time out of her busy schedule modeling Square Dance clothes for my 2nd Etsy shop, SquareDanceNWestern.
She is wearing the fullest petticoat I own, and she really knows how to make those skirts swirl! And I’m talking stand-out-straight swirling. When a gal gets twirled by her guy on the Square Dance floor…? Well, she better be wearing those frilly pettipants. Don’t know what “pettipants” are? Ha! Don’t feel bad. I didn’t have the slightest idea what they were either. Think ruffled panties and you got it…just like baby girls wore over their diapers.
Oh excuse me, we’re talking about wreaths here. “Flossie” gets carried away talking about Square Dancing. She loves to cut a rug too.
Do you want to know how I made this? We’ll talk about it below.
![]()
All I used was a circle of cardboard, various pieces of cardstock, paper ephemera, vintage buttons, ribbon, and old paper coasters.
The world is your oyster here. You can let your imagination run wild and create anything you want. I just fooled around and made something I liked. And Flossie likes it too. In fact…sh-h-h, don’t tell her yet, but I might give it to her for a job well done.
Start with a circle of cardboard like this.

Honestly, I think your cardboard is the most important choice of the whole process. Pick a heavyweight scrap piece. This came from a box originally holding steel cookware. Flimsy cardboard will bend and your wreath won’t hang right. Take your time cutting it out too.

Remember these compasses from 4th grade math? That’s what I used to draw a nice shaped circle because I didn’t have a large enough dinner plate to trace around.
Guess who couldn’t remember how to use a compass from 4th grade math?
Guess who never really understood how to use a compass from 4th grade math?
So I asked that man of mine. He may not know how to Square Dance very well, but he can sure work circles around me when it comes to math.
OK, back to the wreath.
Next, decide what kind of hanger you want to use. If you’re like me, sometimes these basics get you stumped, right? You sure don’t want to figure out a way to hang it after you have it decorated. This needs to come first.
Decide how you want it to hang, (ribbon or twine is best with cardboard). Then choose a color that complements your decorations.
I used pearl ribbon I had on hand. Wrap it around the cardboard. You can tie a bow at the top if you like.
Next I knew I wanted a border to go around the outside of the wreath. I didn’t have any small paper doilies on hand which would be cute, so I used these Christmas coasters I’ve never liked.
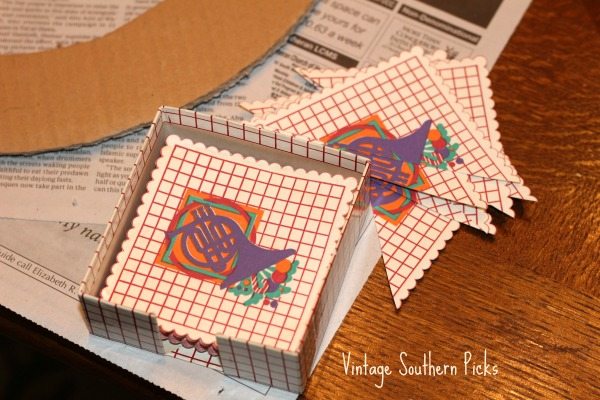
You can see they have a scalloped edge and look decorative. I cut them in half, gluing them around the outside of the wreath. My only regret is that I still have some left!

Most of this border will be covered up, but I like the look!

Now begins the fun part! I knew I wanted a heart wreath in pink colors, so I began cutting heart shapes out of my pretty scrapbook paper Mod Podging them on. I also cut hearts out of old magazine pages I found free last year at a yard sale. Just glue them on, overlapping as you go.
(Here are a few supplies for making your own wreaths. If you purchase, I make a small commission, but it doesn’t cost you a penny more. For more on my disclosure policy, see here.)
This is the part where you make it you! Use cut-outs of tractors and dump trucks…whatever you want.

It’s done, and I believe “Flossie” is about ready to carry it down the aisle, don’t you?

Don’t let me keep you. I’m off to ask if “Guy” popped the question yet….
PLEASE PIN!

Sharing with these link parties.…
Other Posts You Might Enjoy…Just click on the photos to be taken to the post.